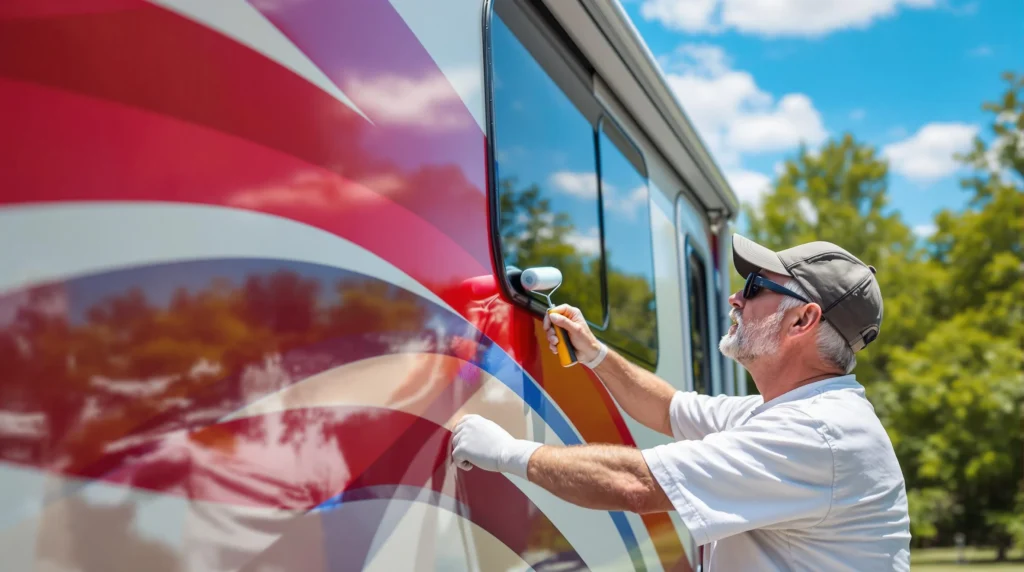
Looking to give your RV a fresh coat of paint? We’ve been there! Your motorhome’s exterior doesn’t just reflect your personal style—it’s also the first line of defense against harsh weather, road debris, and UV rays.
Choosing the right paint for your RV exterior can be overwhelming with countless options available. That’s why we’ve researched and tested the top RV exterior paints to help you make an well-informed choice. The perfect paint won’t just make your rig look stunning—it’ll provide long-lasting protection while withstanding the unique challenges of life on the road.
Why RV Exterior Paint Matters for Your Mobile Home
Your RV’s exterior paint serves as much more than just an aesthetic element – it’s the first line of defense against the elements your mobile home faces on the road. Protection against harsh weather conditions is perhaps the most critical function, with quality paint creating a barrier that shields your RV’s surface from rain, snow, hail, and extreme temperatures. Without proper protection, moisture can seep into the underlying materials, potentially causing rust, rot, or structural damage that leads to costly repairs.
UV protection ranks as another vital benefit of quality RV paint. Constant exposure to sunlight will fade and degrade inferior coatings, but premium RV paints contain UV inhibitors that prevent harmful ultraviolet rays from breaking down the paint surface and damaging the materials beneath. This protection maintains your RV’s appearance while extending the lifespan of its exterior components.
Road debris poses a constant threat to your mobile home during travel. Stones, gravel, branches, and other objects regularly strike your RV at highway speeds, with each impact potentially chipping away at lesser paints. High-quality exterior paint formulations provide superior adhesion and durability, helping your RV withstand these inevitable collisions without immediately showing damage.
Value retention becomes particularly relevant when considering the investment you’ve made in your recreational vehicle. RVs with well-maintained exteriors command significantly higher resale values, with some experts suggesting up to 15-25% higher prices compared to identical models with weathered or damaged finishes. The right paint job essentially pays for itself through enhanced value preservation.
Temperature regulation improves noticeably with reflective or insulating paint formulations specifically designed for RVs. These specialized coatings can reduce heat absorption during summer months and help retain warmth during colder periods, potentially lowering your energy costs for climate control inside your mobile home.
Understanding Different Types of RV Exterior Paint
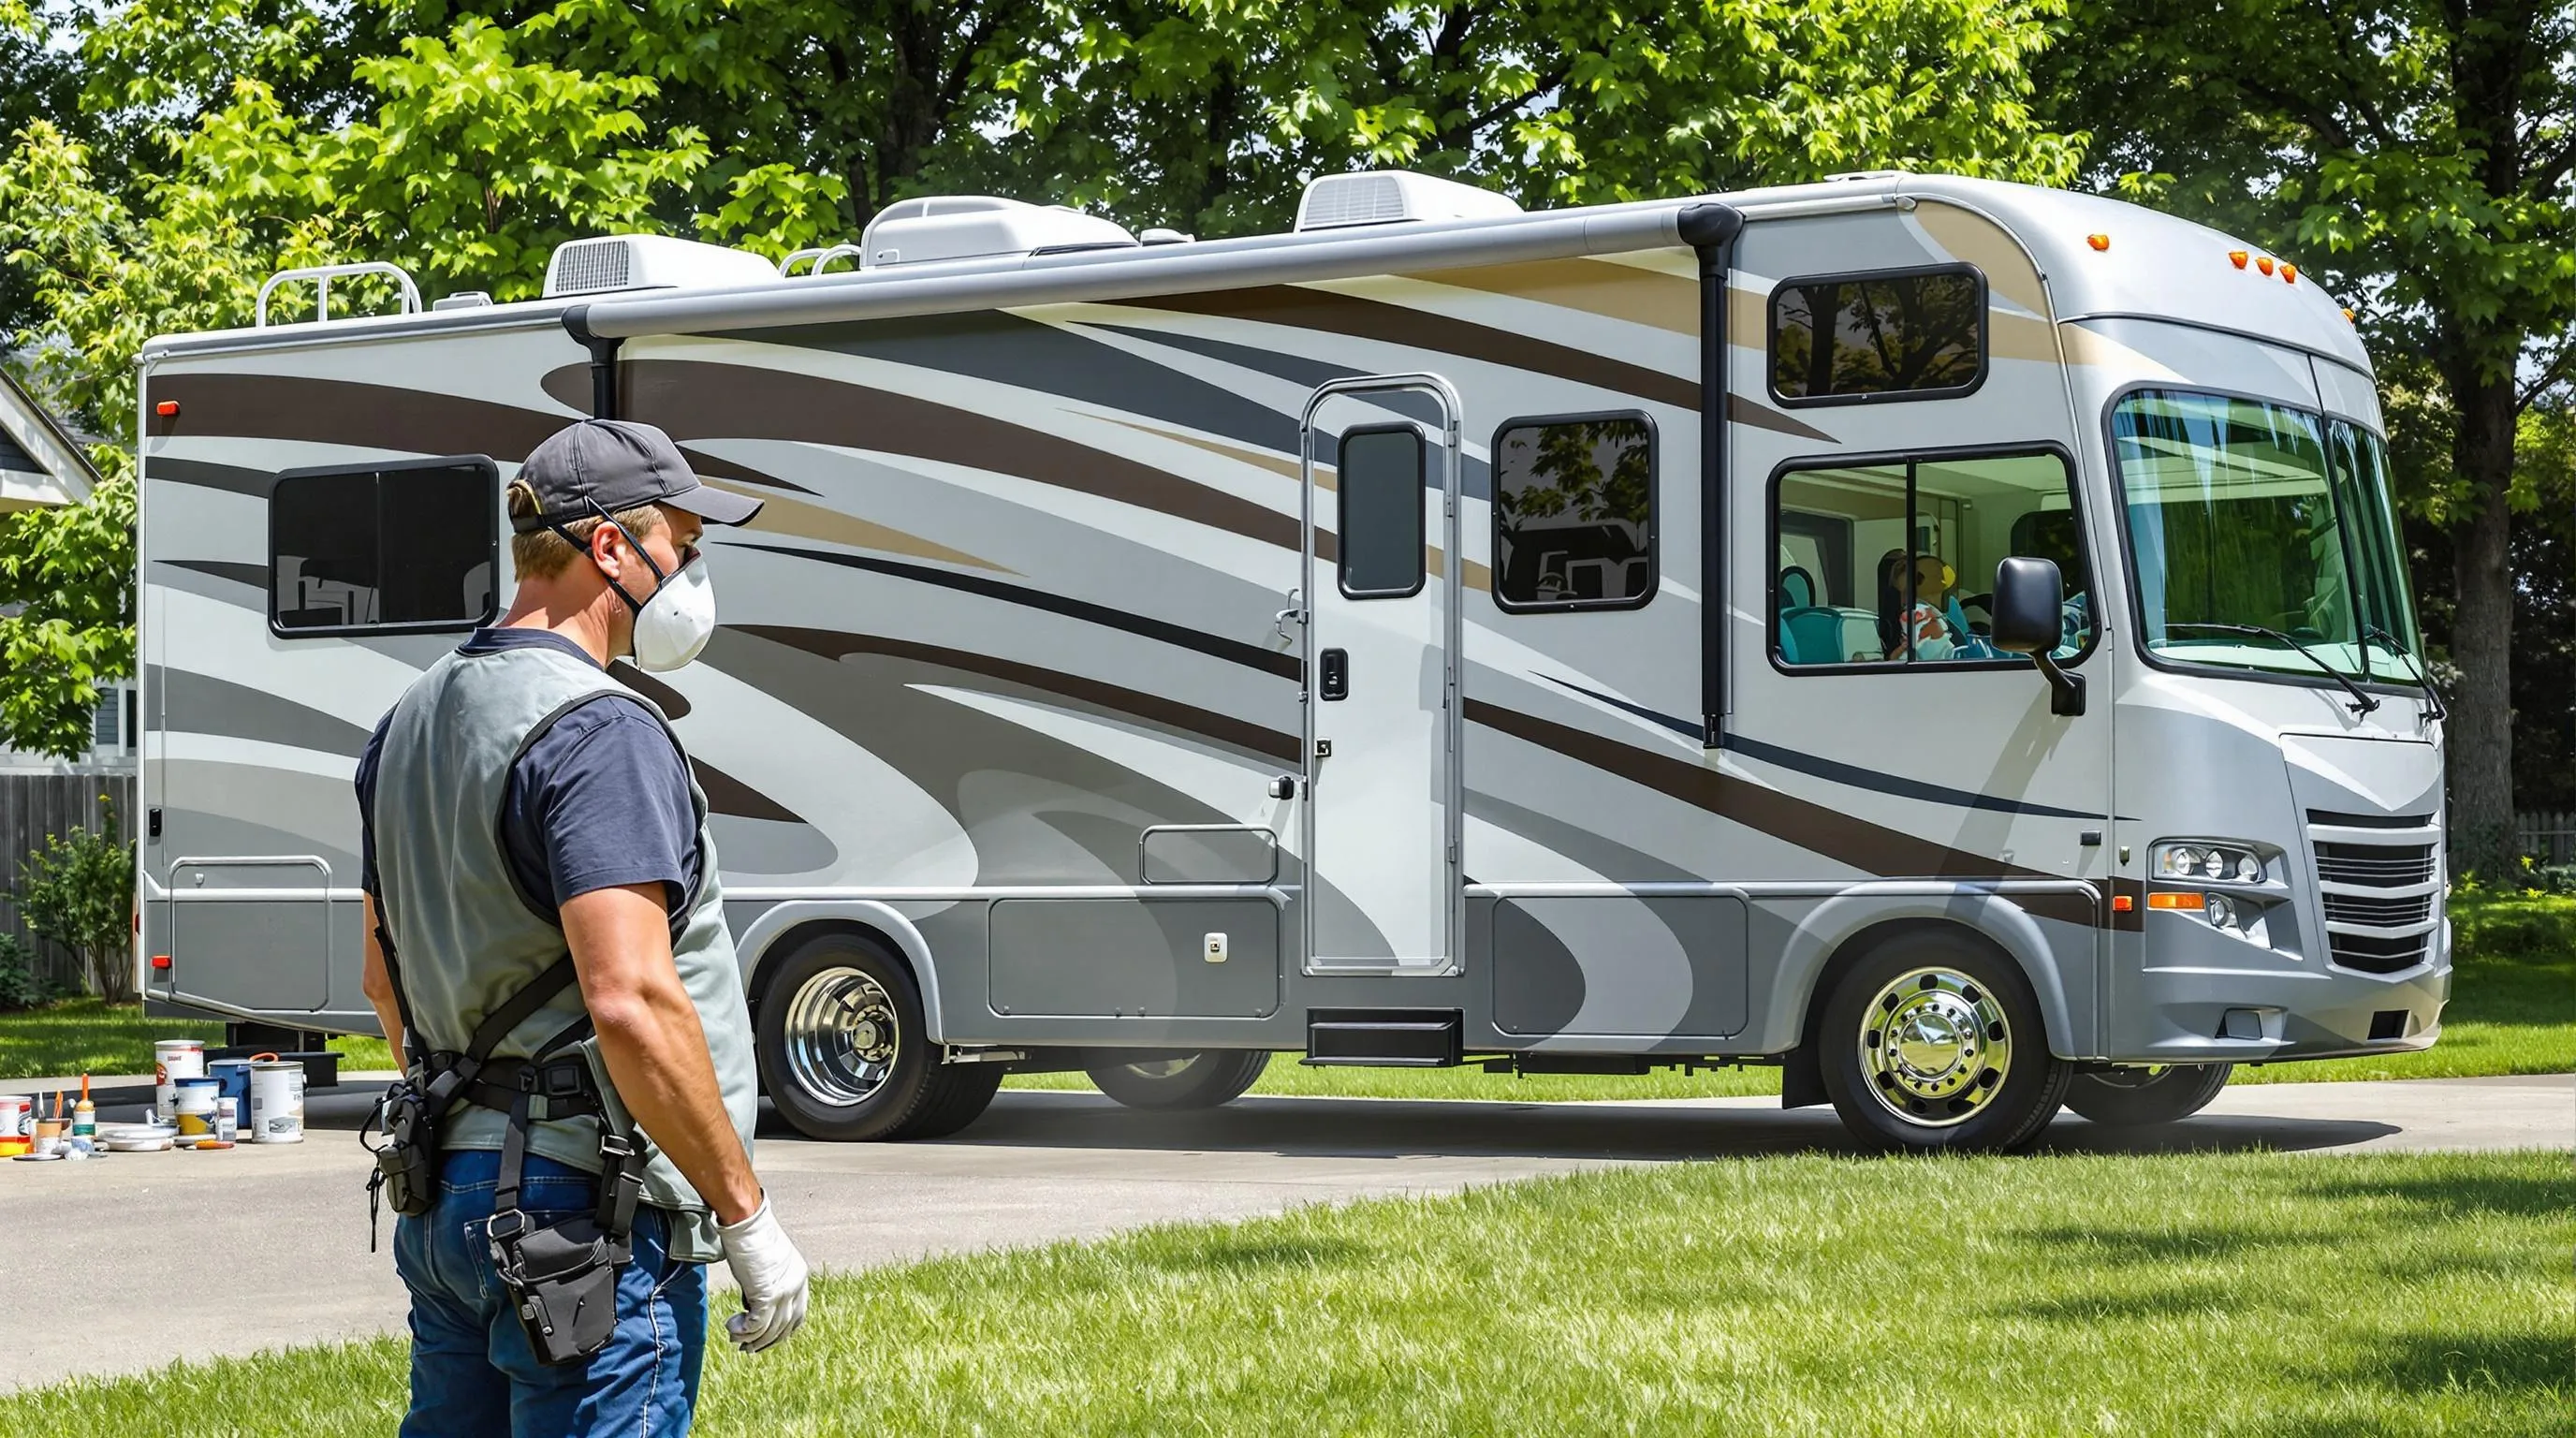
Selecting the right type of paint for your RV exterior is crucial for achieving both aesthetic appeal and long-lasting protection. Let’s explore the most common paint types used for RVs and their exact benefits.
Acrylic Latex Paint for RVs
Acrylic latex paints offer excellent flexibility and UV resistance, making them ideal for aluminum RV surfaces. These water-soluble formulations adhere remarkably well to raw aluminum and can withstand the temperature fluctuations your RV experiences on the road. Modern latex paints provide improved durability compared to older formulations while being easier to apply for DIY enthusiasts. When combined with a quality bonding primer, acrylic latex paints create a protective barrier that stands up to various weather conditions. Though sometimes considered less traditional for full RV exteriors, they’ve gained popularity for their environmental friendliness and simple cleanup with water.
Urethane Paint Options
Automotive-grade urethane paints represent the professional choice for RV exteriors, delivering superior durability and weather resistance. These specialized formulations provide exceptional UV protection and create that showroom-quality glossy finish that many RV owners desire. Urethane paints typically require application of a clear topcoat to maximize their protective properties and enhance their visual appeal. Professional application through spraying ensures the most even coverage and best results with urethane paints. Their resistance to chipping, fading, and peeling makes them worth the higher investment for RV owners looking for a long-term solution to exterior protection.
Enamel-Based RV Paint
Traditional oil-based enamel paints have long been valued for their durability but often lack the flexibility needed for RV exteriors that experience constant movement and vibration. Modern acrylic-enamel hybrid formulations solve this problem by offering an optimal balance of hardness and weather resistance. These innovative paints create a shell-like protective layer that guards against environmental damage while maintaining visual appeal over time. Enamel-based options work particularly well as topcoats in a complete painting system for your RV. Application of enamel paints requires thorough surface preparation including cleaning, sanding, and primer application to ensure proper adhesion and longevity of the finish.
7 Best Paints for RV Exterior Renovation
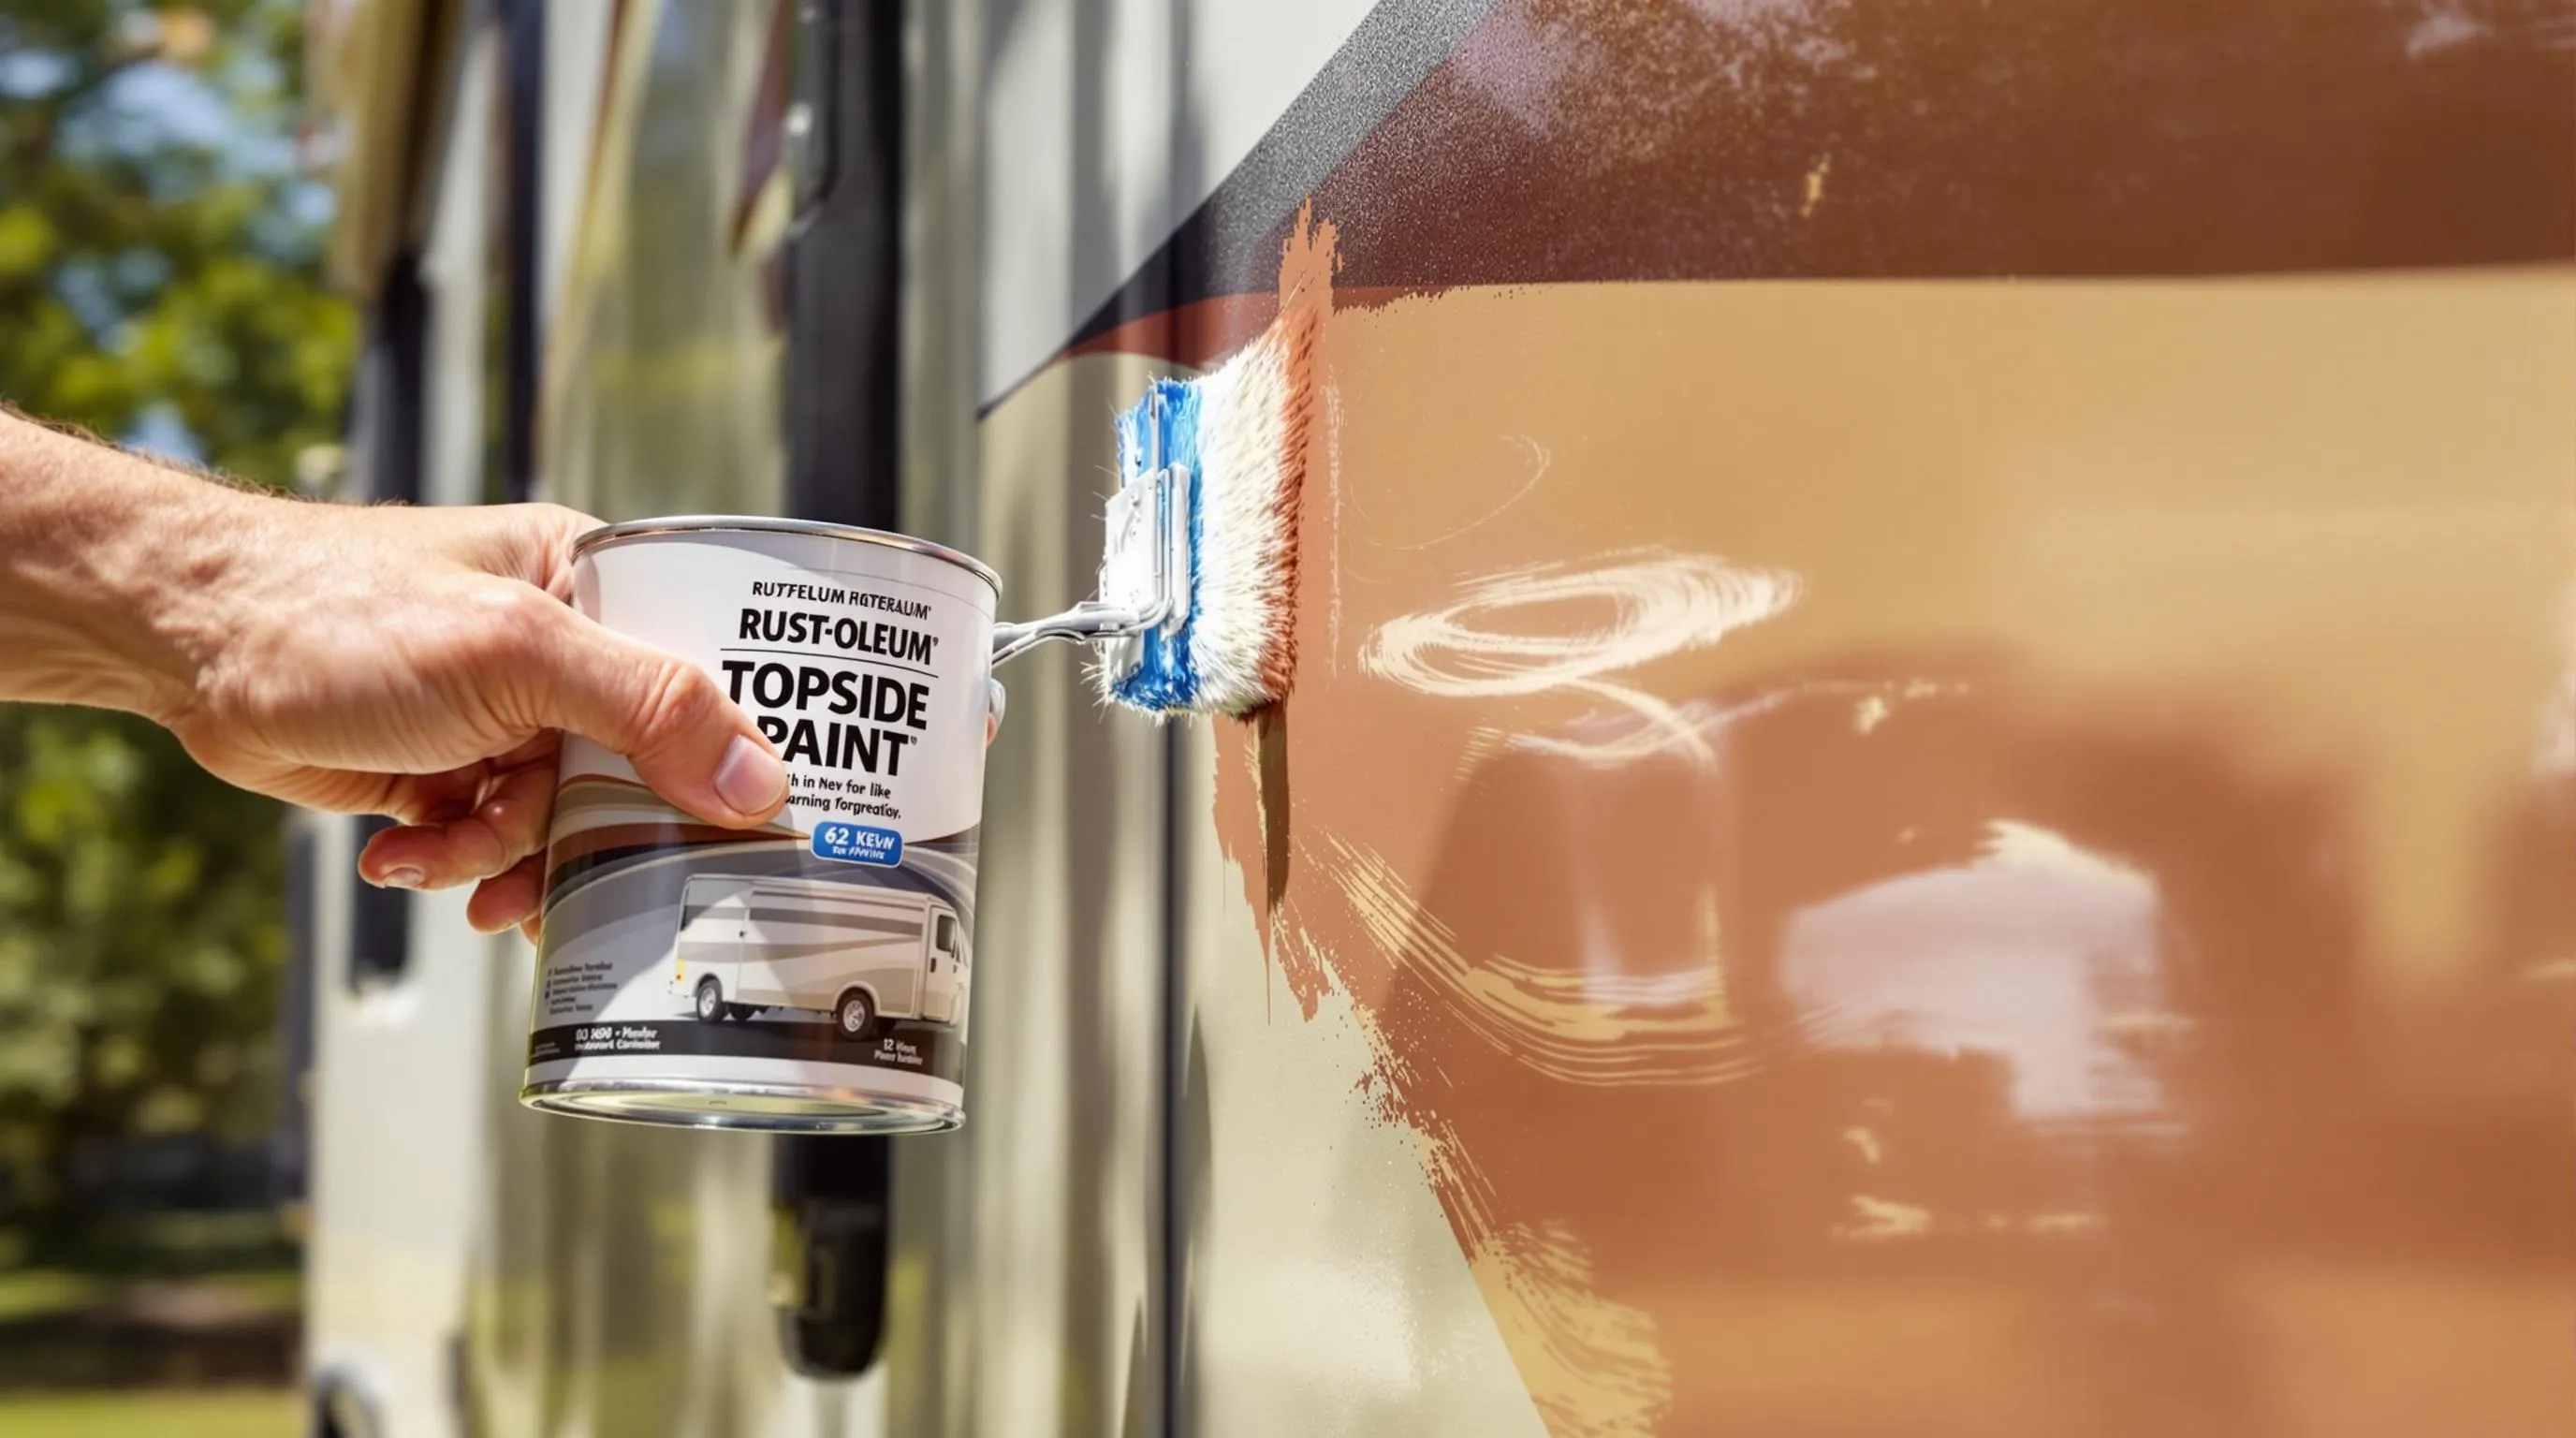
Choosing the right paint for your RV exterior can make the difference between a stunning renovation and a disappointing outcome. We’ve compiled a list of the top-performing options on the market based on durability, application ease, and weather resistance.
1. Rust-Oleum Topside Paint
Rust-Oleum Topside Paint stands out as a premium marine-grade alkyd enamel specifically formulated for fiberglass and metal surfaces. DIY enthusiasts appreciate its user-friendly application process, making it perfect for first-time RV painters. The paint delivers exceptional UV resistance and outstanding durability against harsh weather conditions, protecting your RV from the elements year-round. Its smooth finish and color retention qualities ensure your recreational vehicle maintains its refreshed appearance for multiple seasons.
2. Durabak Textured Non-Slip Coating
Durabak offers a specialized polyurethane-based coating that combines UV resistance with practical safety features. This textured formula contains grit additives that create a non-slip surface, making it ideal for RV roofs, steps, and other areas where traction is essential. Proper surface preparation is crucial for optimal adhesion, but the extra effort pays off with a durable finish that withstands extreme weather conditions. Many RV owners choose Durabak for its dual benefits of protection and safety enhancement.
3. TOTALBOAT Marine Topside Paint
TOTALBOAT Marine Topside Paint delivers professional-grade results with its high-gloss marine formulation. Engineered with advanced weatherproofing and superior corrosion resistance, this paint excels on aluminum and fiberglass RV exteriors. Application requires a compatible primer for optimal bonding, creating a robust protective layer against the elements. The paint’s marine heritage ensures it can handle everything from coastal humidity to highway debris, making it a trusted choice for serious RV enthusiasts seeking long-term protection.
4. Majic Paints RePurpose Satin Finish
Majic Paints RePurpose provides an excellent acrylic-based solution specifically designed for metal surfaces like aluminum RV siding. The waterproof and flexible formula accommodates natural temperature fluctuations that recreational vehicles experience, preventing cracking and peeling during seasonal changes. Its satin finish strikes a perfect balance between subtle sheen and practical durability, hiding minor imperfections while maintaining an attractive appearance. RV owners particularly value this paint for its forgiving application properties and consistent coverage.
5. Valspar Anti-Rust Armor Enamel
Valspar Anti-Rust Armor Enamel features an oil-modified alkyd formula enhanced with powerful rust inhibitors. Metal RV exteriors benefit greatly from its exceptional abrasion resistance and protective qualities, especially in regions with harsh environmental conditions. Application typically involves sprayers or rollers for an even coat that bonds securely to properly prepared surfaces. The paint’s formulation creates a tough barrier against moisture and road chemicals, extending the lifespan of metal components while maintaining an attractive finish.
6. Diamond Brite Oil Base Enamel
Diamond Brite Oil Base Enamel delivers a striking high-gloss finish with built-in UV inhibitors for lasting protection. This formulation performs particularly well on Filon (fiberglass-reinforced laminate) and gel-coated surfaces common in modern RVs. Users should note that while this paint offers excellent initial results, it may demonstrate some yellowing over extended periods of sun exposure. The rich, deep finish makes Diamond Brite popular for RV owners seeking a showroom-quality appearance with the durability needed for regular travel conditions.
7. Krylon Fusion All-In-One Spray Paint
Krylon Fusion All-In-One Spray Paint provides a convenient solution for small repairs or accent details on your RV exterior. This aerosol acrylic enamel bonds directly to plastics and fiberglass without requiring a separate primer, saving time and effort during touch-up jobs. Coverage limitations restrict its use to spot applications rather than full-body painting projects. RV owners keep this versatile product on hand for quick fixes, trim work, and small areas that need refreshing between major renovation cycles.
Essential Tools and Materials for Painting Your RV
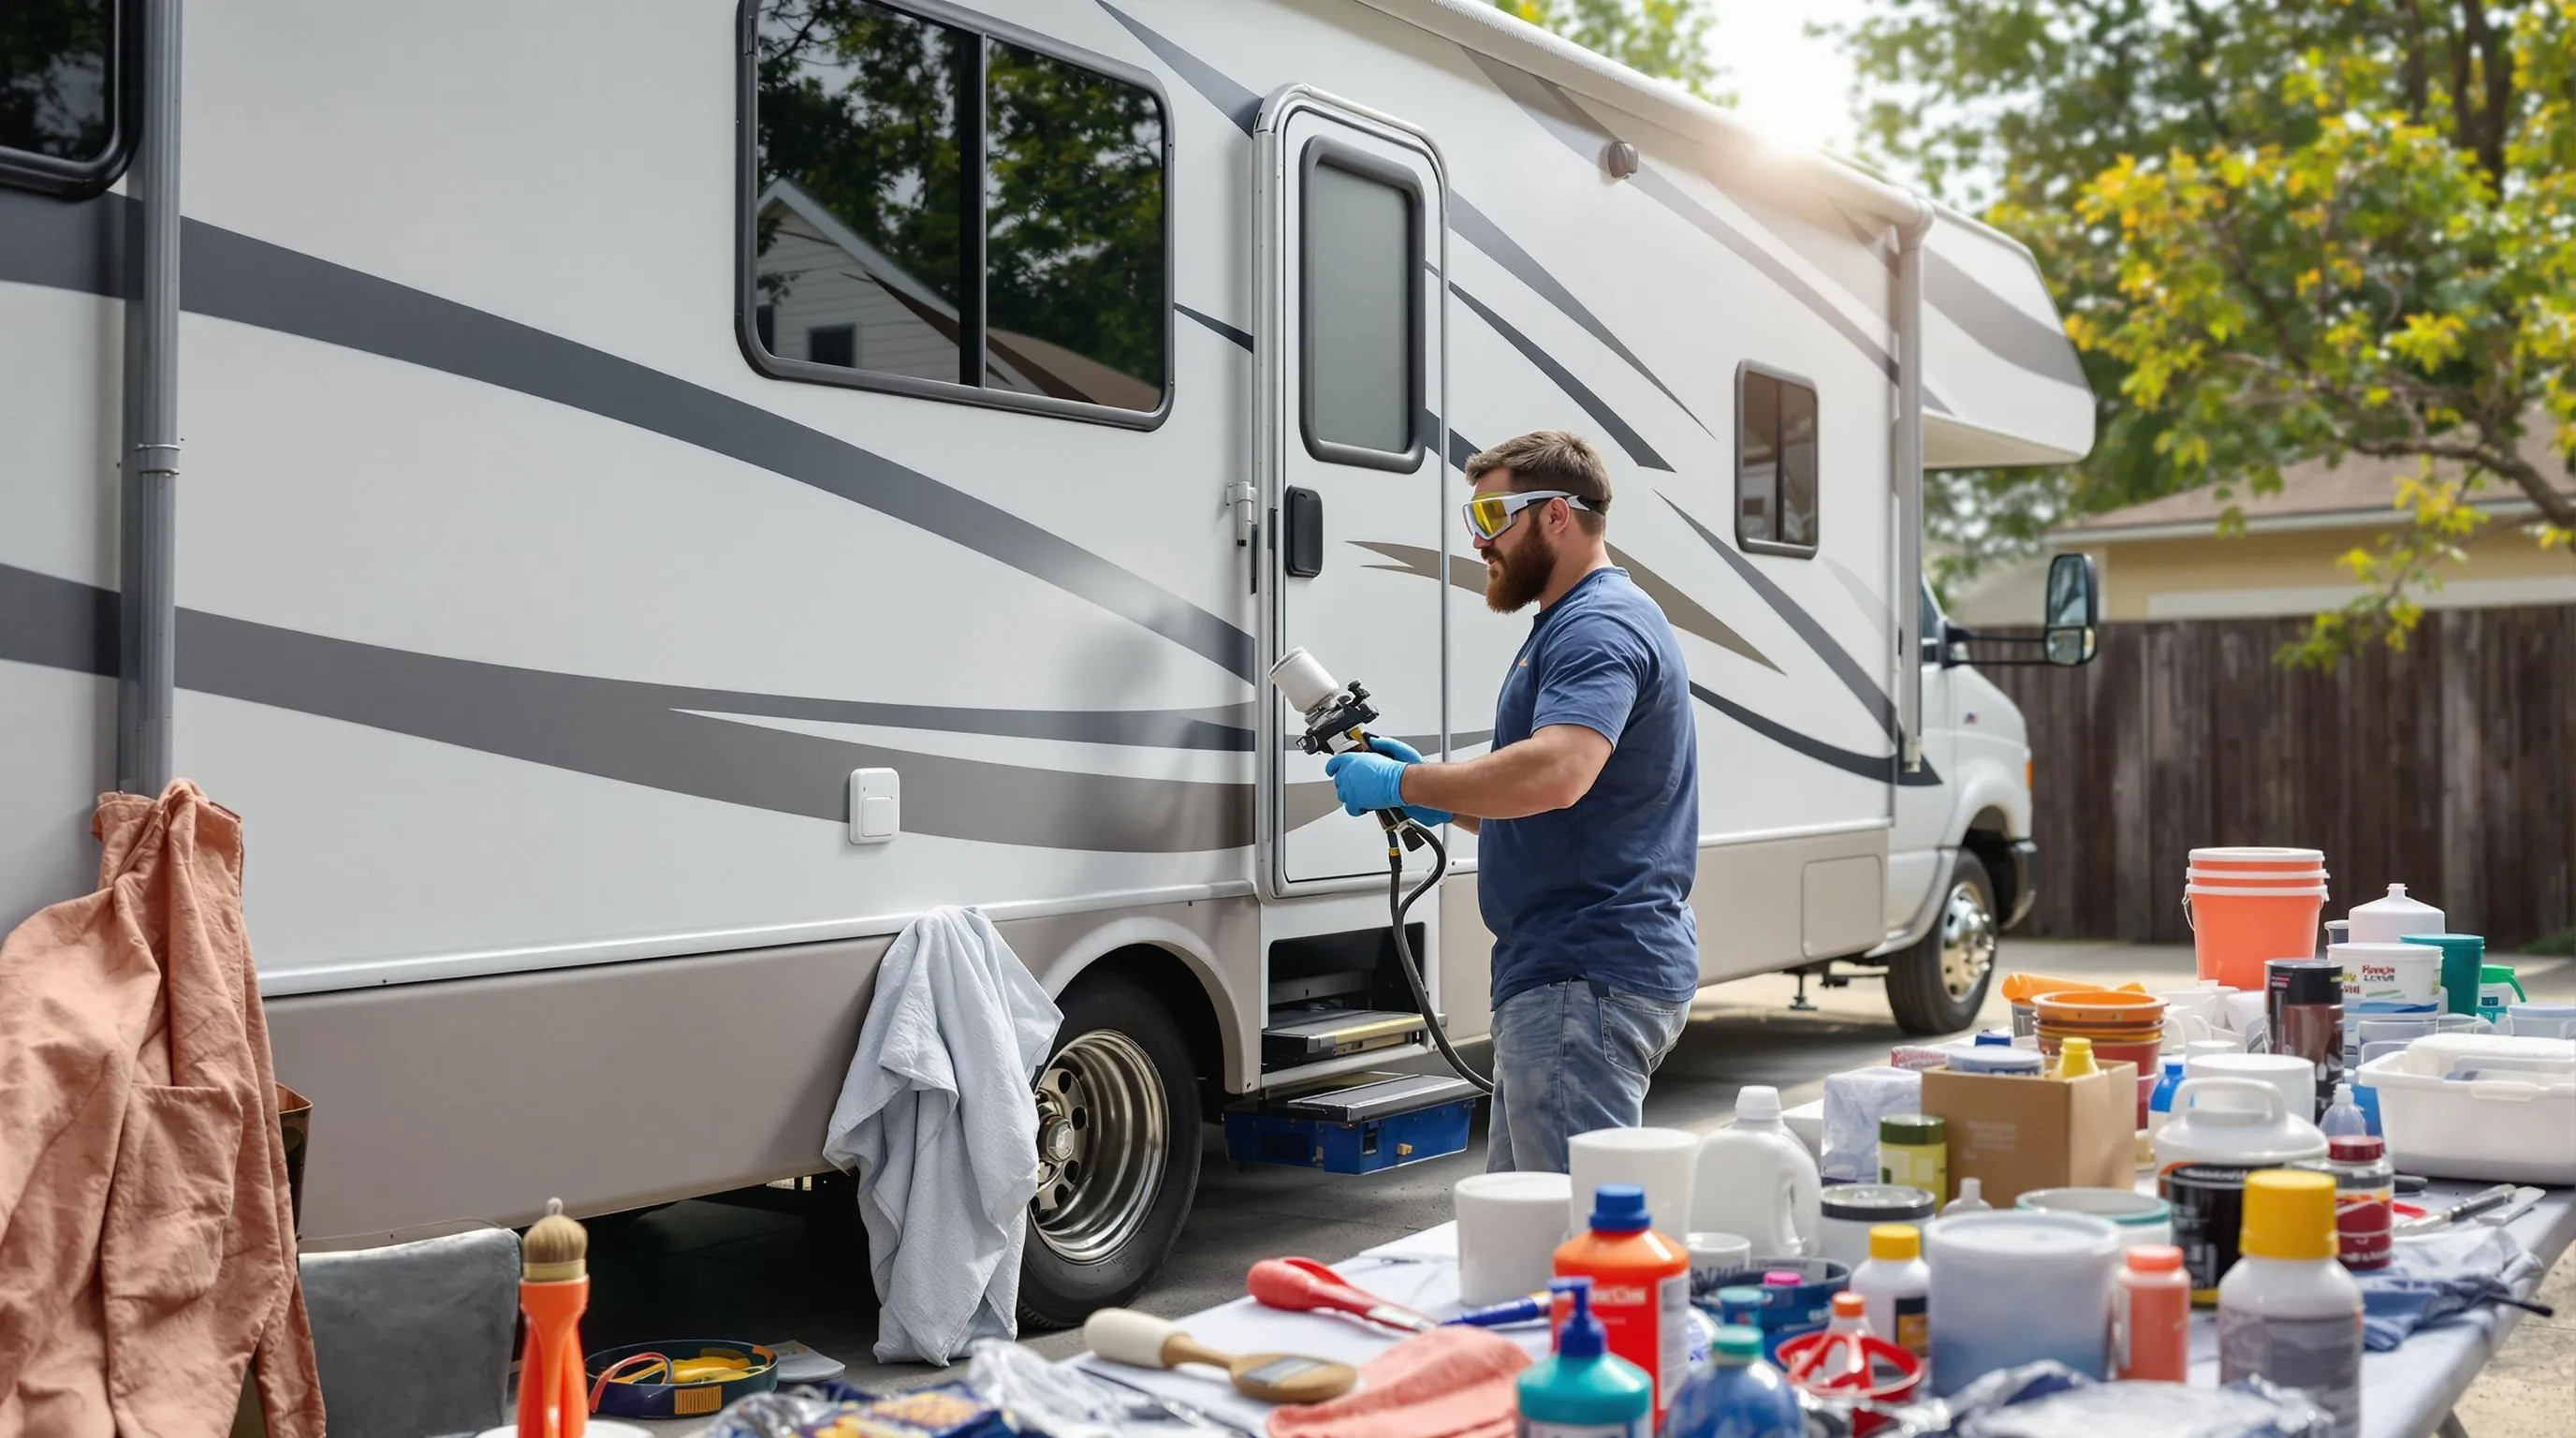
Before diving into your RV painting project, gathering the right supplies will make the difference between professional-looking results and a disappointing finish. We’ve compiled a comprehensive list of essential tools and materials you’ll need for a successful exterior paint job.
Preparation Supplies
- Cleaning Agents – Start with proper surface preparation using automotive detergents or acetone to remove all dirt, grease, and contaminants from your RV’s exterior surfaces.
- Decal Removal Tools – A heat gun and plastic scraper will help you safely remove old decals without damaging the underlying surface.
- Sanding Materials – Scuff pads, sanding blocks, and various grits of sandpaper (180-320 grit) are crucial for creating a smooth, paintable surface that promotes proper adhesion.
- Microfiber Cloths – These lint-free cloths are perfect for wiping down surfaces after cleaning and between paint application steps.
Protective Materials
- FrogTape Painters Tape – This high-quality painter’s tape creates clean, sharp lines and prevents paint bleed on areas you want to protect.
- Masking Paper – Essential for covering larger areas like windows, doors, and trim that should remain paint-free during your project.
- Drop Cloths – Protect the ground around your RV from paint spills and overspray with durable canvas or plastic drop cloths.
- Personal Protective Equipment – Safety goggles, respirator masks, and gloves will protect you from harmful fumes and chemicals throughout the painting process.
Painting Essentials
- Primer – Dupli-Color Primer is highly recommended as it creates a strong foundation for your paint to adhere to and enhances the final finish.
- Base Color Paint – Dupli-Color Base Color Paint offers excellent coverage and durability specifically designed for vehicle exteriors.
- Clear Coat – Dupli-Color Clear Coat provides that professional glossy finish while adding an extra layer of protection against the elements.
- Paint Sprayer – For large RV surfaces, an HVLP (High Volume Low Pressure) paint sprayer will give you the most even application and professional results.
- Rollers and Brushes – Quality rollers with appropriate nap lengths for your paint type and angled brushes for detail work are necessary for areas where spraying isn’t practical.
Finishing and Cleanup
- Polishing Compounds – These help smooth out any minor imperfections in your clear coat for a showroom-quality finish.
- Goof Off or Similar Product – Keep this handy for cleaning up any accidental spills or overspray immediately.
- Paint Strainers – These simple mesh filters remove any lumps or debris from your paint before application, preventing clogged sprayers and ensuring a smooth finish.
Proper preparation is absolutely critical for achieving a durable, attractive finish on your RV exterior. Taking the time to gather all these materials before starting will streamline your painting process and help you achieve professional-quality results that will protect your RV for years to come.
How to Properly Prepare Your RV Surface Before Painting
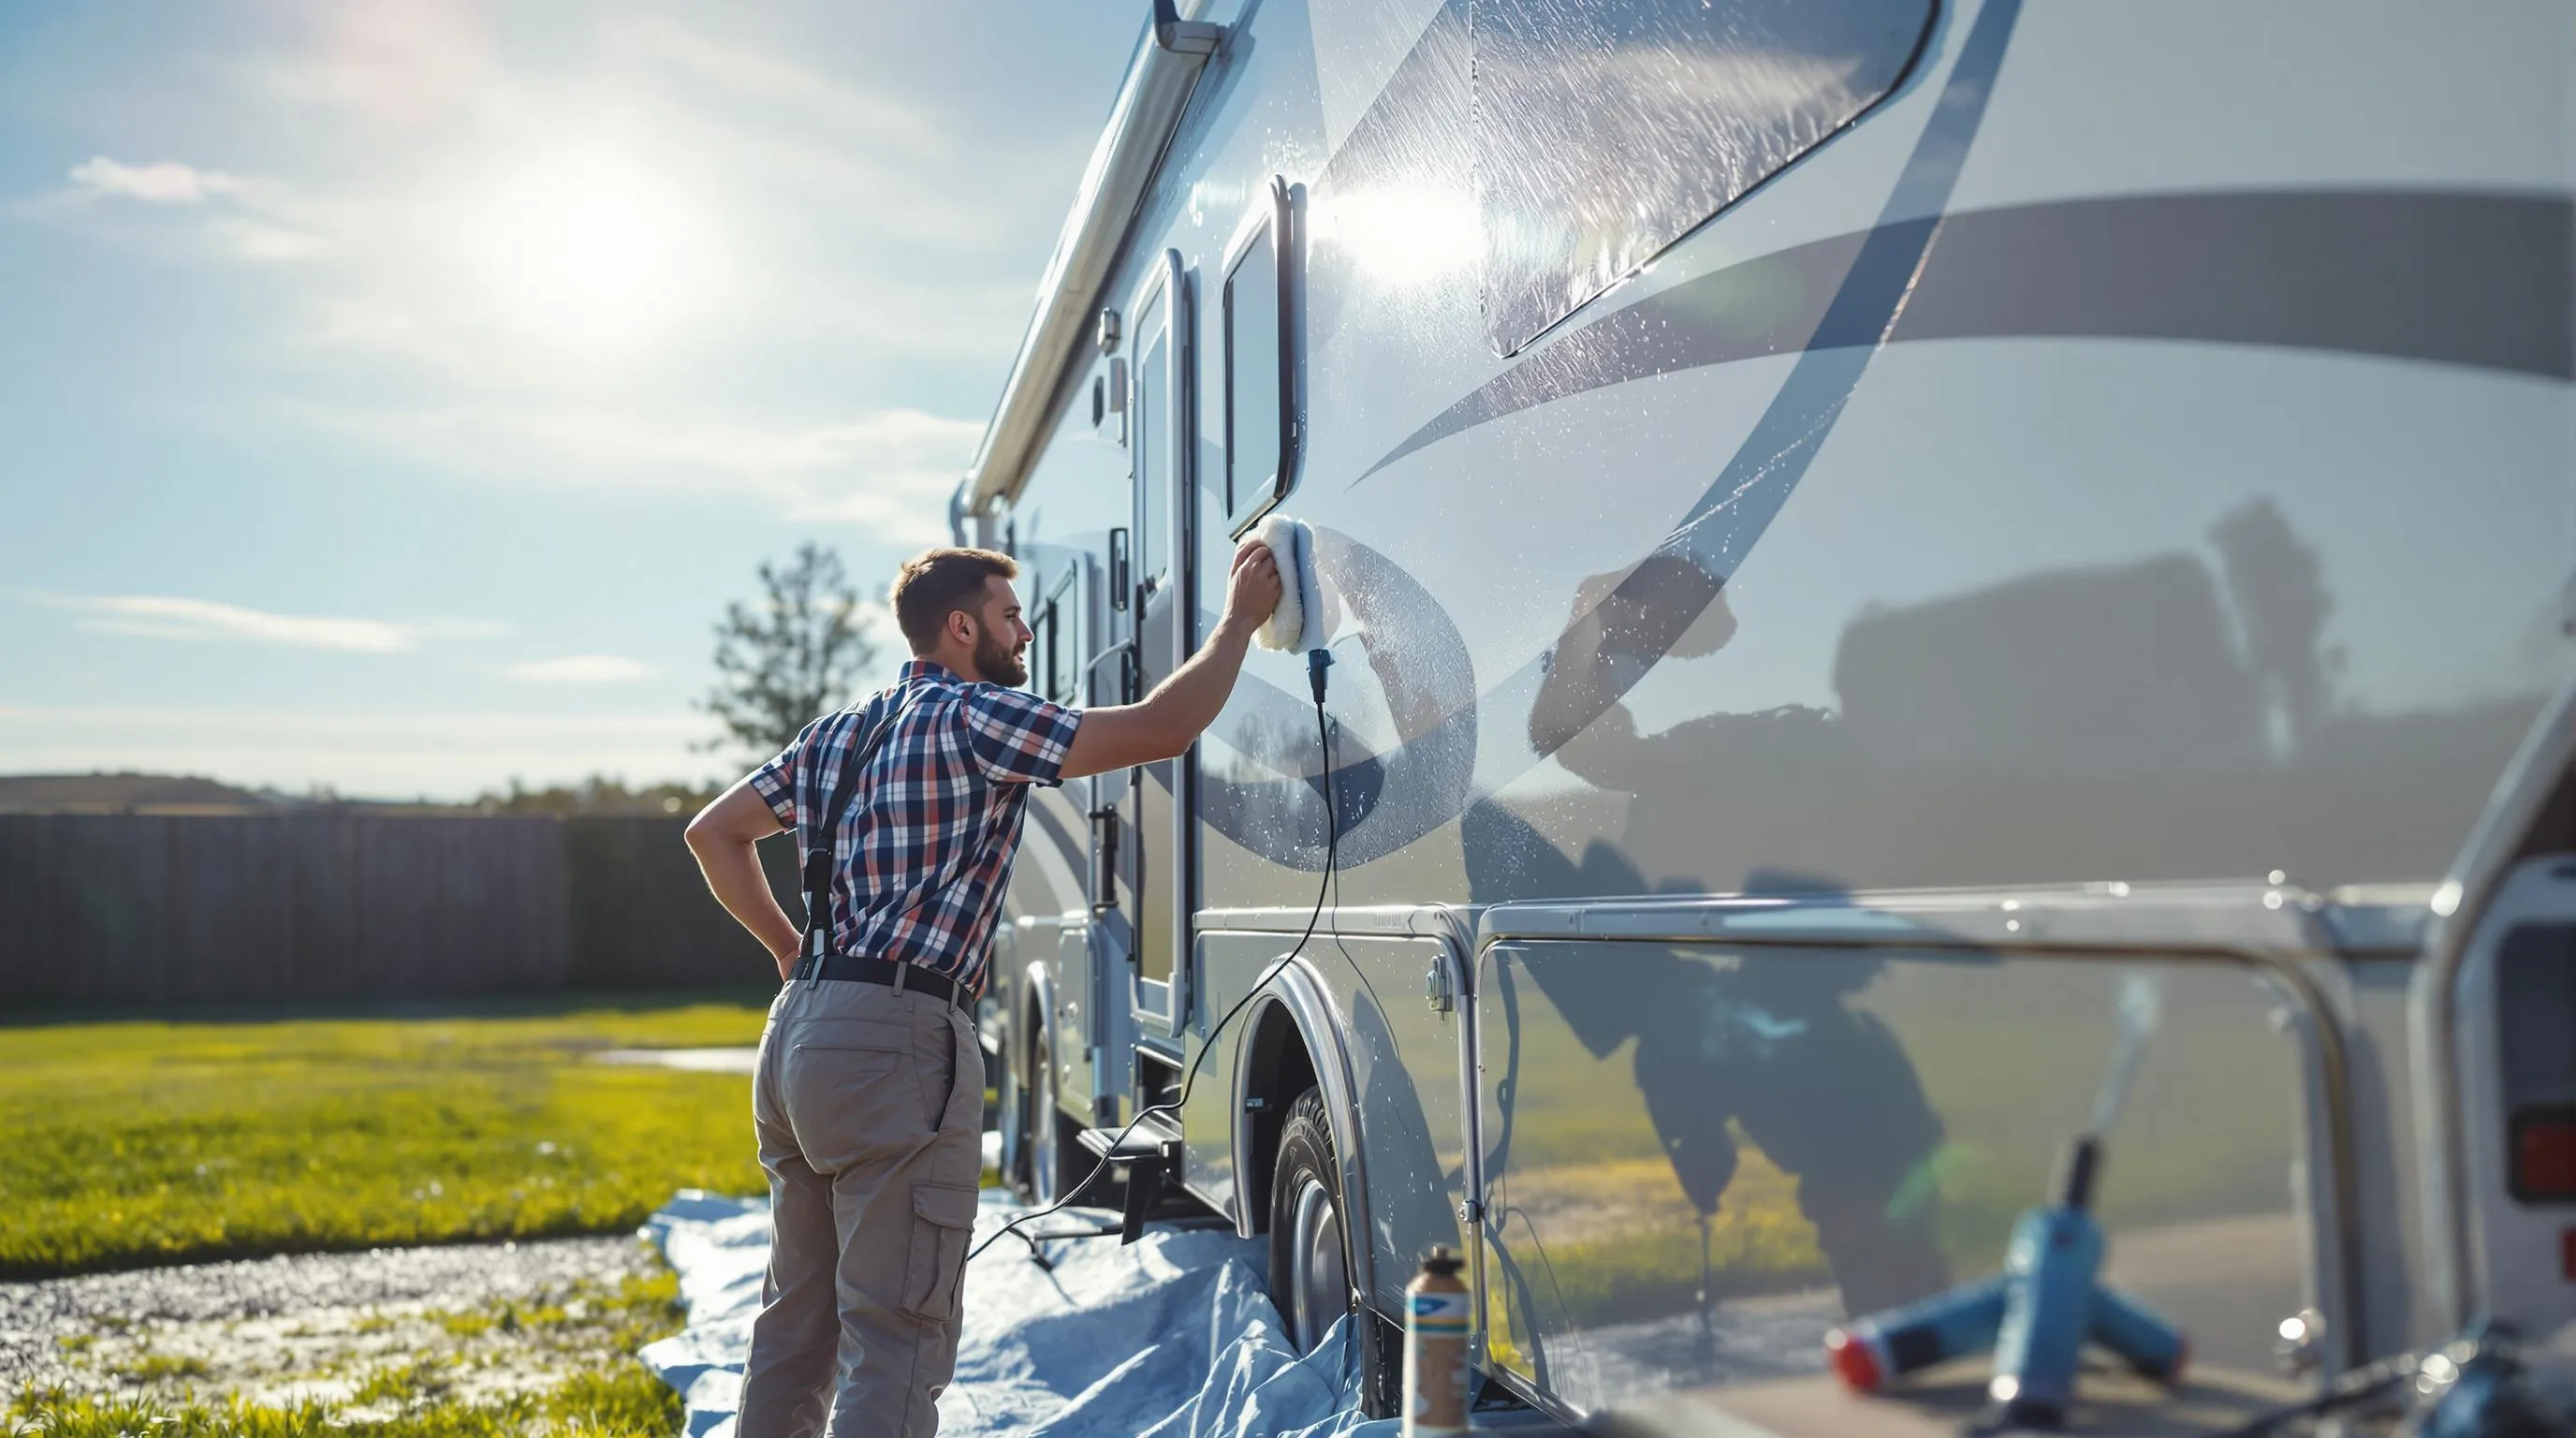
Proper preparation is absolutely essential for a successful RV paint job. Skipping these critical steps can lead to peeling, bubbling, or premature failure of your new paint. Here’s our comprehensive guide to preparing your RV exterior properly:
1. Clean the Exterior Thoroughly
Your RV surface needs to be completely clean before painting begins. Start by washing the entire exterior with an RV-exact cleaner or a solution of trisodium phosphate (TSP) and water. This powerful cleaning combination cuts through years of built-up road grime, oxidation, and contaminants that would prevent proper paint adhesion. Make sure to rinse thoroughly and allow the surface to dry completely before moving to the next step.
2. Remove Decals and Adhesive Residue
Old decals must be completely removed to achieve a smooth painting surface. Using a heat gun on low setting helps loosen adhesives without damaging the underlying surface. Gently lift the decal edges with a plastic scraper as you apply heat, being careful not to gouge the RV’s exterior. For stubborn adhesive residue, apply a specialized adhesive remover and work in small sections with a clean microfiber cloth until all sticky residue is gone.
3. Repair Damaged Areas
Addressing structural issues before painting saves time and ensures a superior finish. Carefully inspect the entire exterior for rusted spots, corrosion, dents, or cracks. Sand rusted areas down to bare metal and apply a quality rust converter to prevent future oxidation. Fill any dents or imperfections with an appropriate body filler, allowing it to cure completely before sanding it smooth with the surrounding surface.
4. Sand the Entire Surface
Creating a properly roughened surface promotes optimal paint adhesion. Use 220-400 grit sandpaper to sand the entire exterior, working in manageable sections and maintaining consistent pressure. For aluminum surfaces, we recommend using a self-etching primer after sanding to create the best possible foundation for paint. Always wipe away sanding dust with a tack cloth before moving forward to ensure no particles interfere with your paint application.
5. Apply a Quality Bonding Primer
Priming is non-negotiable for a long-lasting paint job. Apply a bonding primer specifically designed for metal or fiberglass RV surfaces, which creates the critical link between your prepared surface and the finish coat. This specialized primer prevents peeling and provides additional protection against the elements. Allow the primer to dry completely for 24-48 hours before applying paint, following the manufacturer’s recommended drying times for optimal results.
6. Mask Off Protected Areas
Protect areas that shouldn’t receive paint with careful masking. Apply painter’s tape along all trim edges, around windows, vents, and fixtures with precise, straight lines. Extend protection by adding plastic sheeting to larger areas like windows and doors, securing it firmly with additional tape. Taking extra time during masking prevents overspray and ensures clean, professional-looking edges when the job is complete.
7. Create Ideal Painting Conditions
Environmental factors significantly impact paint application and drying. Schedule your painting project when temperatures will remain between 60-85°F with low humidity levels. Set up adequate ventilation, especially when working with oil-based products, to protect your health and promote proper drying. Never attempt to paint in direct sunlight, excessive wind, or when rain is forecasted within 48 hours of your project completion.
Following these preparation steps requires patience but delivers remarkable results. The quality of your preparation directly determines the longevity and appearance of your finished RV exterior paint job. Professional-looking results come from meticulous attention to these crucial preliminary stages rather than rushing to apply paint on an improperly prepared surface.
Step-by-Step Guide to Painting Your RV Exterior
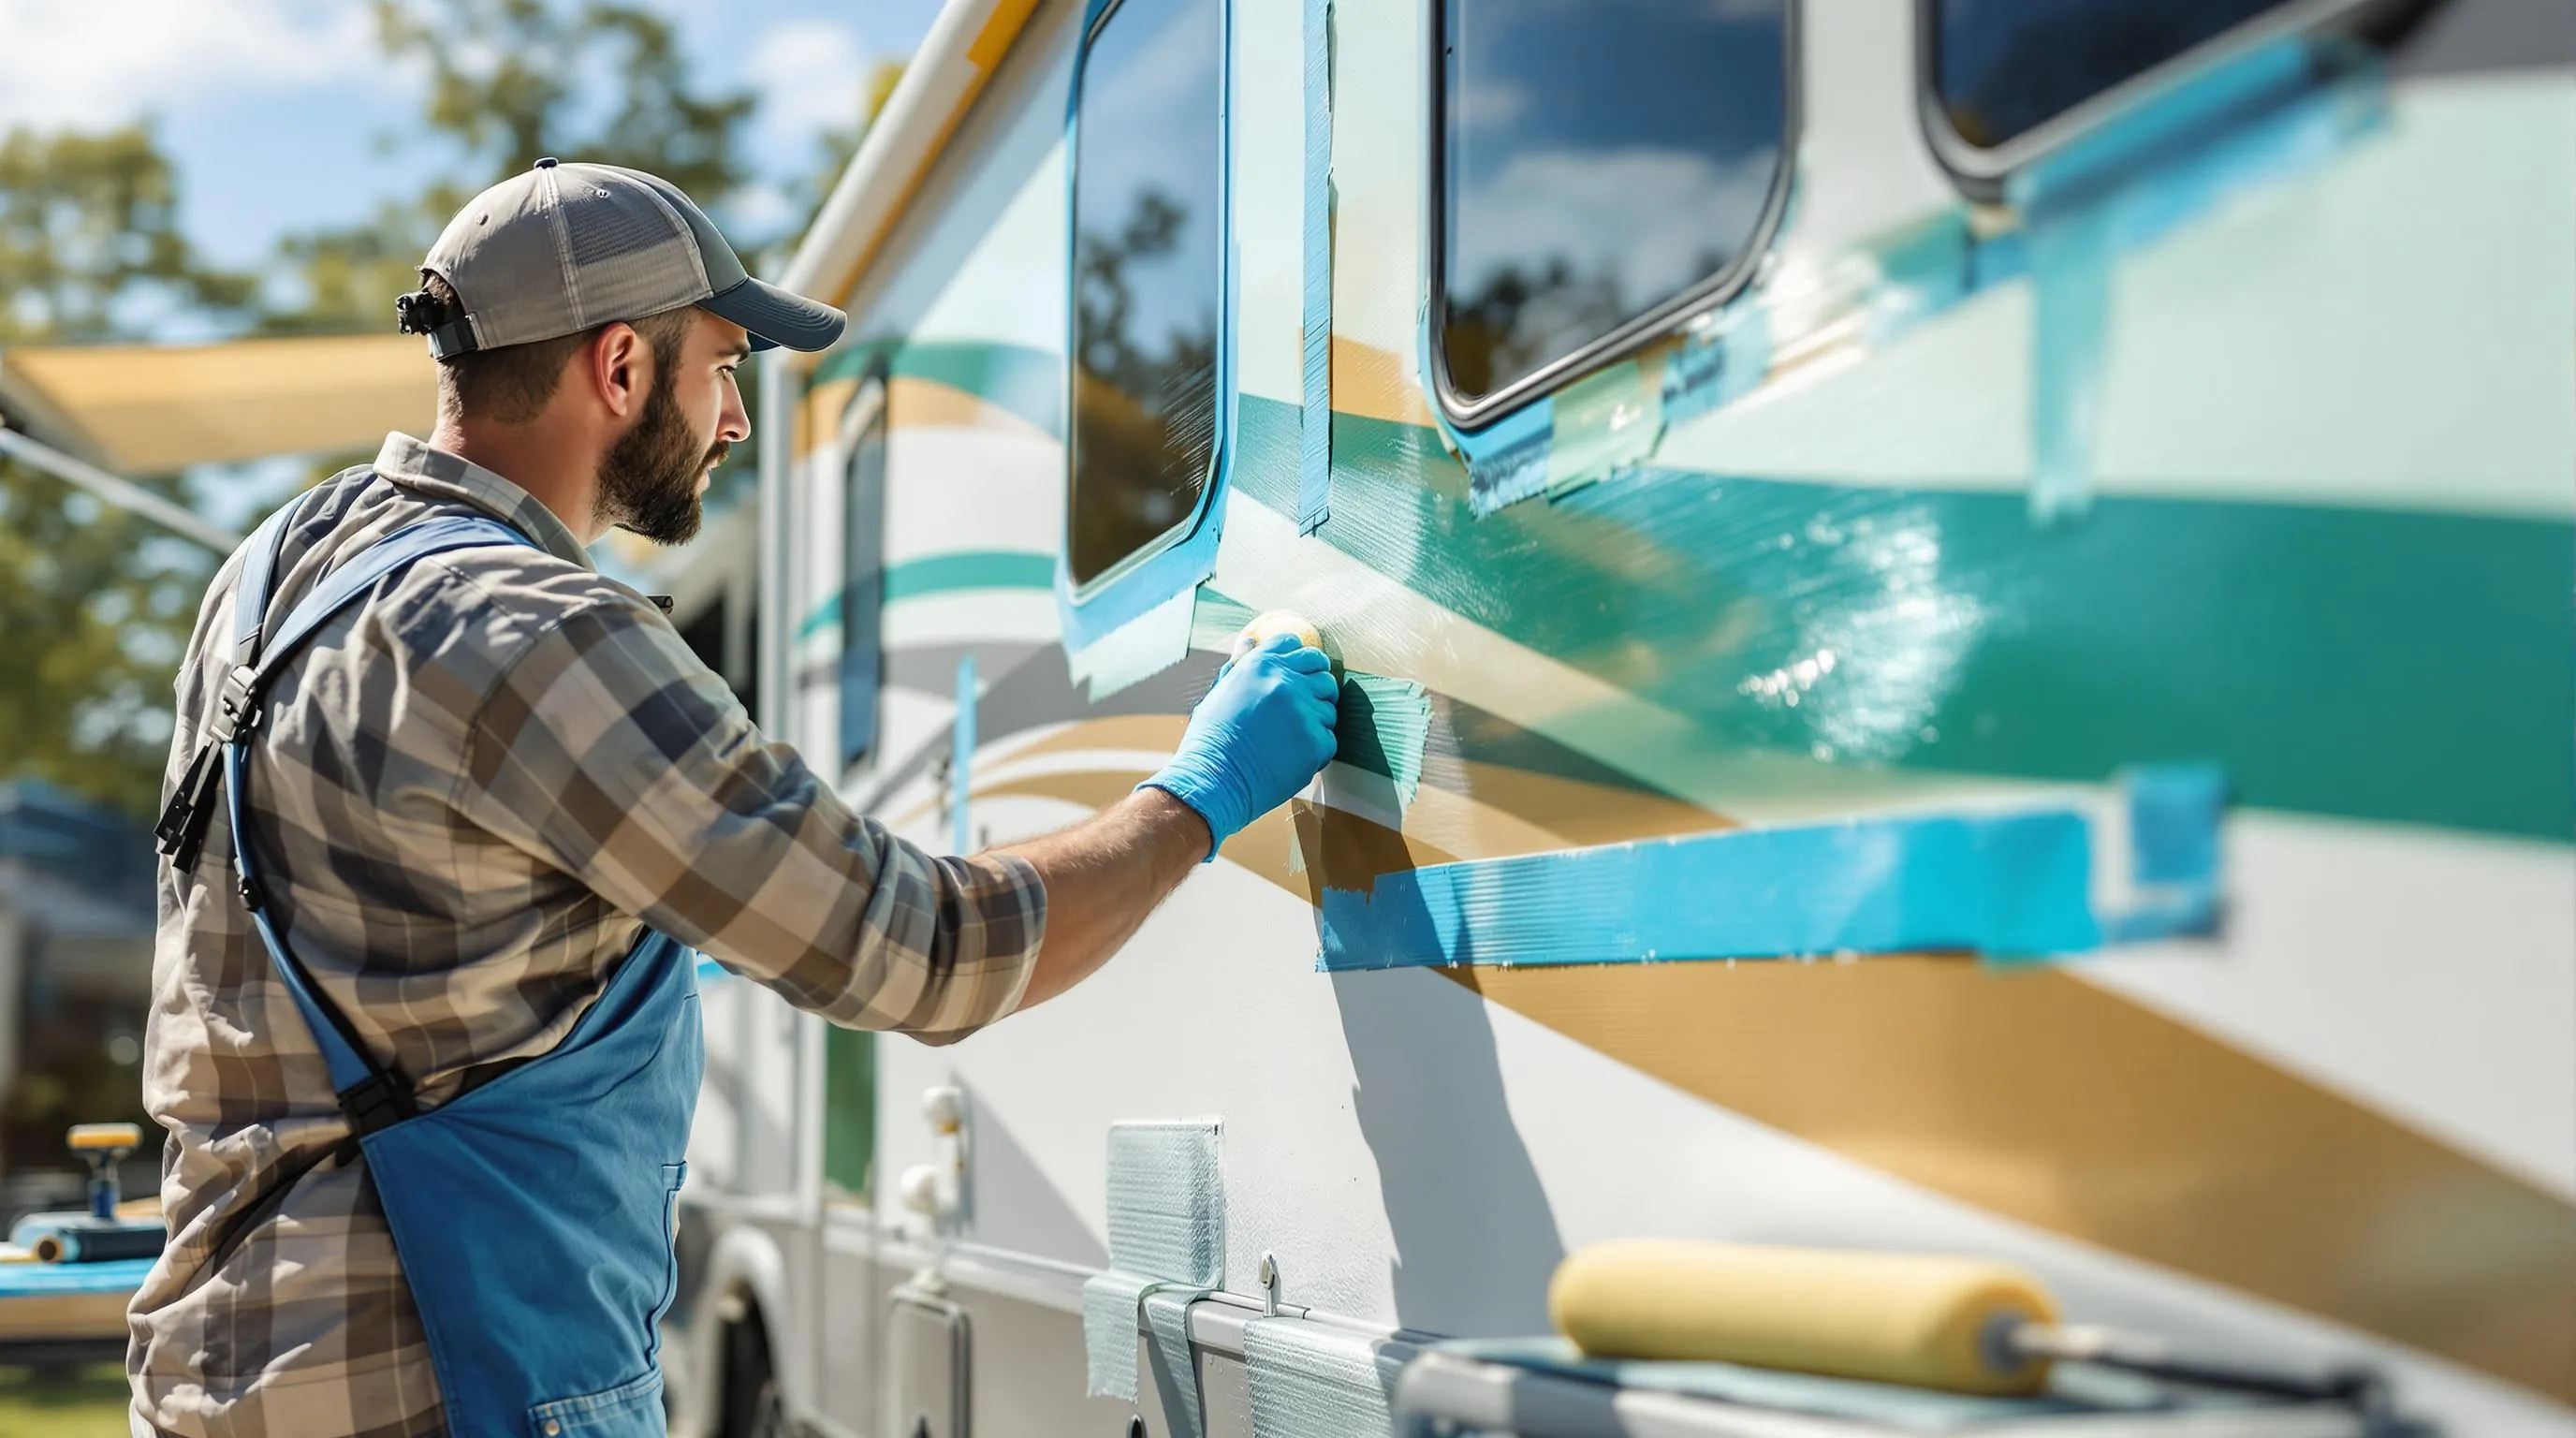
1. Remove Decals and Graphics
Getting rid of old decals is the first crucial step in your RV painting journey. Apply heat with a standard hairdryer to loosen the adhesive, then carefully peel away the decals from your RV’s surface. For stubborn areas that refuse to budge, specialized decal remover wheels can make the task significantly easier. These tools help eliminate residual adhesive without damaging the underlying surface, giving you a clean canvas for your new paint job.
2. Clean and Prep the Surface
Thorough cleaning creates the foundation for a successful paint application. Wash the entire exterior with a quality RV cleaner to remove dirt, grime, and oxidation that could prevent proper paint adhesion. During this phase, it’s also the perfect time to replace any damaged fixtures and re-caulk seams that show signs of wear. This comprehensive prep work ensures water won’t infiltrate beneath your new paint, extending the life of your renovation project.
3. Sand the Exterior
Light sanding creates the microscopic texture needed for paint to bond effectively. Scuff the entire surface with fine-grit sandpaper to improve adhesion without damaging the structural integrity of your RV’s exterior walls. After sanding, vacuum or wipe away all dust particles thoroughly – even tiny remnants can create imperfections in your final finish. This critical step dramatically improves how well your new paint will adhere and last.
4. Apply the Base Coat
Base coat application requires strategic tool selection for different areas. Use a roller for large, flat surfaces to create even coverage and minimize visible stroke marks. Brushes work best for edges, corners, and tight spaces where rollers can’t reach effectively. Many RV owners opt for convenient 2-in-1 paint formulations that combine primer and color, saving important time while still providing excellent coverage and adhesion properties.
5. Add Optional Designs
Customizing your RV with unique designs transforms it from ordinary to extraordinary. Project your desired patterns directly onto the RV’s surface using a standard projector, then carefully trace the outlines before painting. This technique allows even amateur painters to achieve professional-looking designs without freehand skills. Creative embellishments make your RV stand out while expressing your personal style at campsites.
6. Paint Contrasting Colors
Adding accent colors creates visual interest and dimension on your RV exterior. Mask off sections with high-quality painter’s tape to create clean lines between different colored areas. Automotive-grade black paint makes a striking contrast against lighter base colors, particularly around windows, doors, and decorative elements. These color variations add depth to your design while highlighting your RV’s best architectural features.
7. Finish with Clear Coat Protection
A protective clear coat serves as invisible armor for your newly painted RV. Spray two complete layers of automotive-grade clear coat to shield your paint job from UV damage, environmental contaminants, and minor abrasions. This transparent barrier prevents premature fading and oxidation while improving the depth and shine of your color coat. The clear coat represents a small additional investment that delivers substantial long-term protection benefits.
For optimal results, we recommend using automotive-grade products or oil-based paints that provide superior longevity in challenging outdoor conditions. The durability of your paint job directly correlates with the thoroughness of your preparation work – cutting corners during prep almost always leads to premature peeling and disappointment. Following these systematic steps ensures your RV’s new exterior finish will remain attractive and protective for years to come.
Maintenance Tips to Extend the Life of Your RV Paint Job
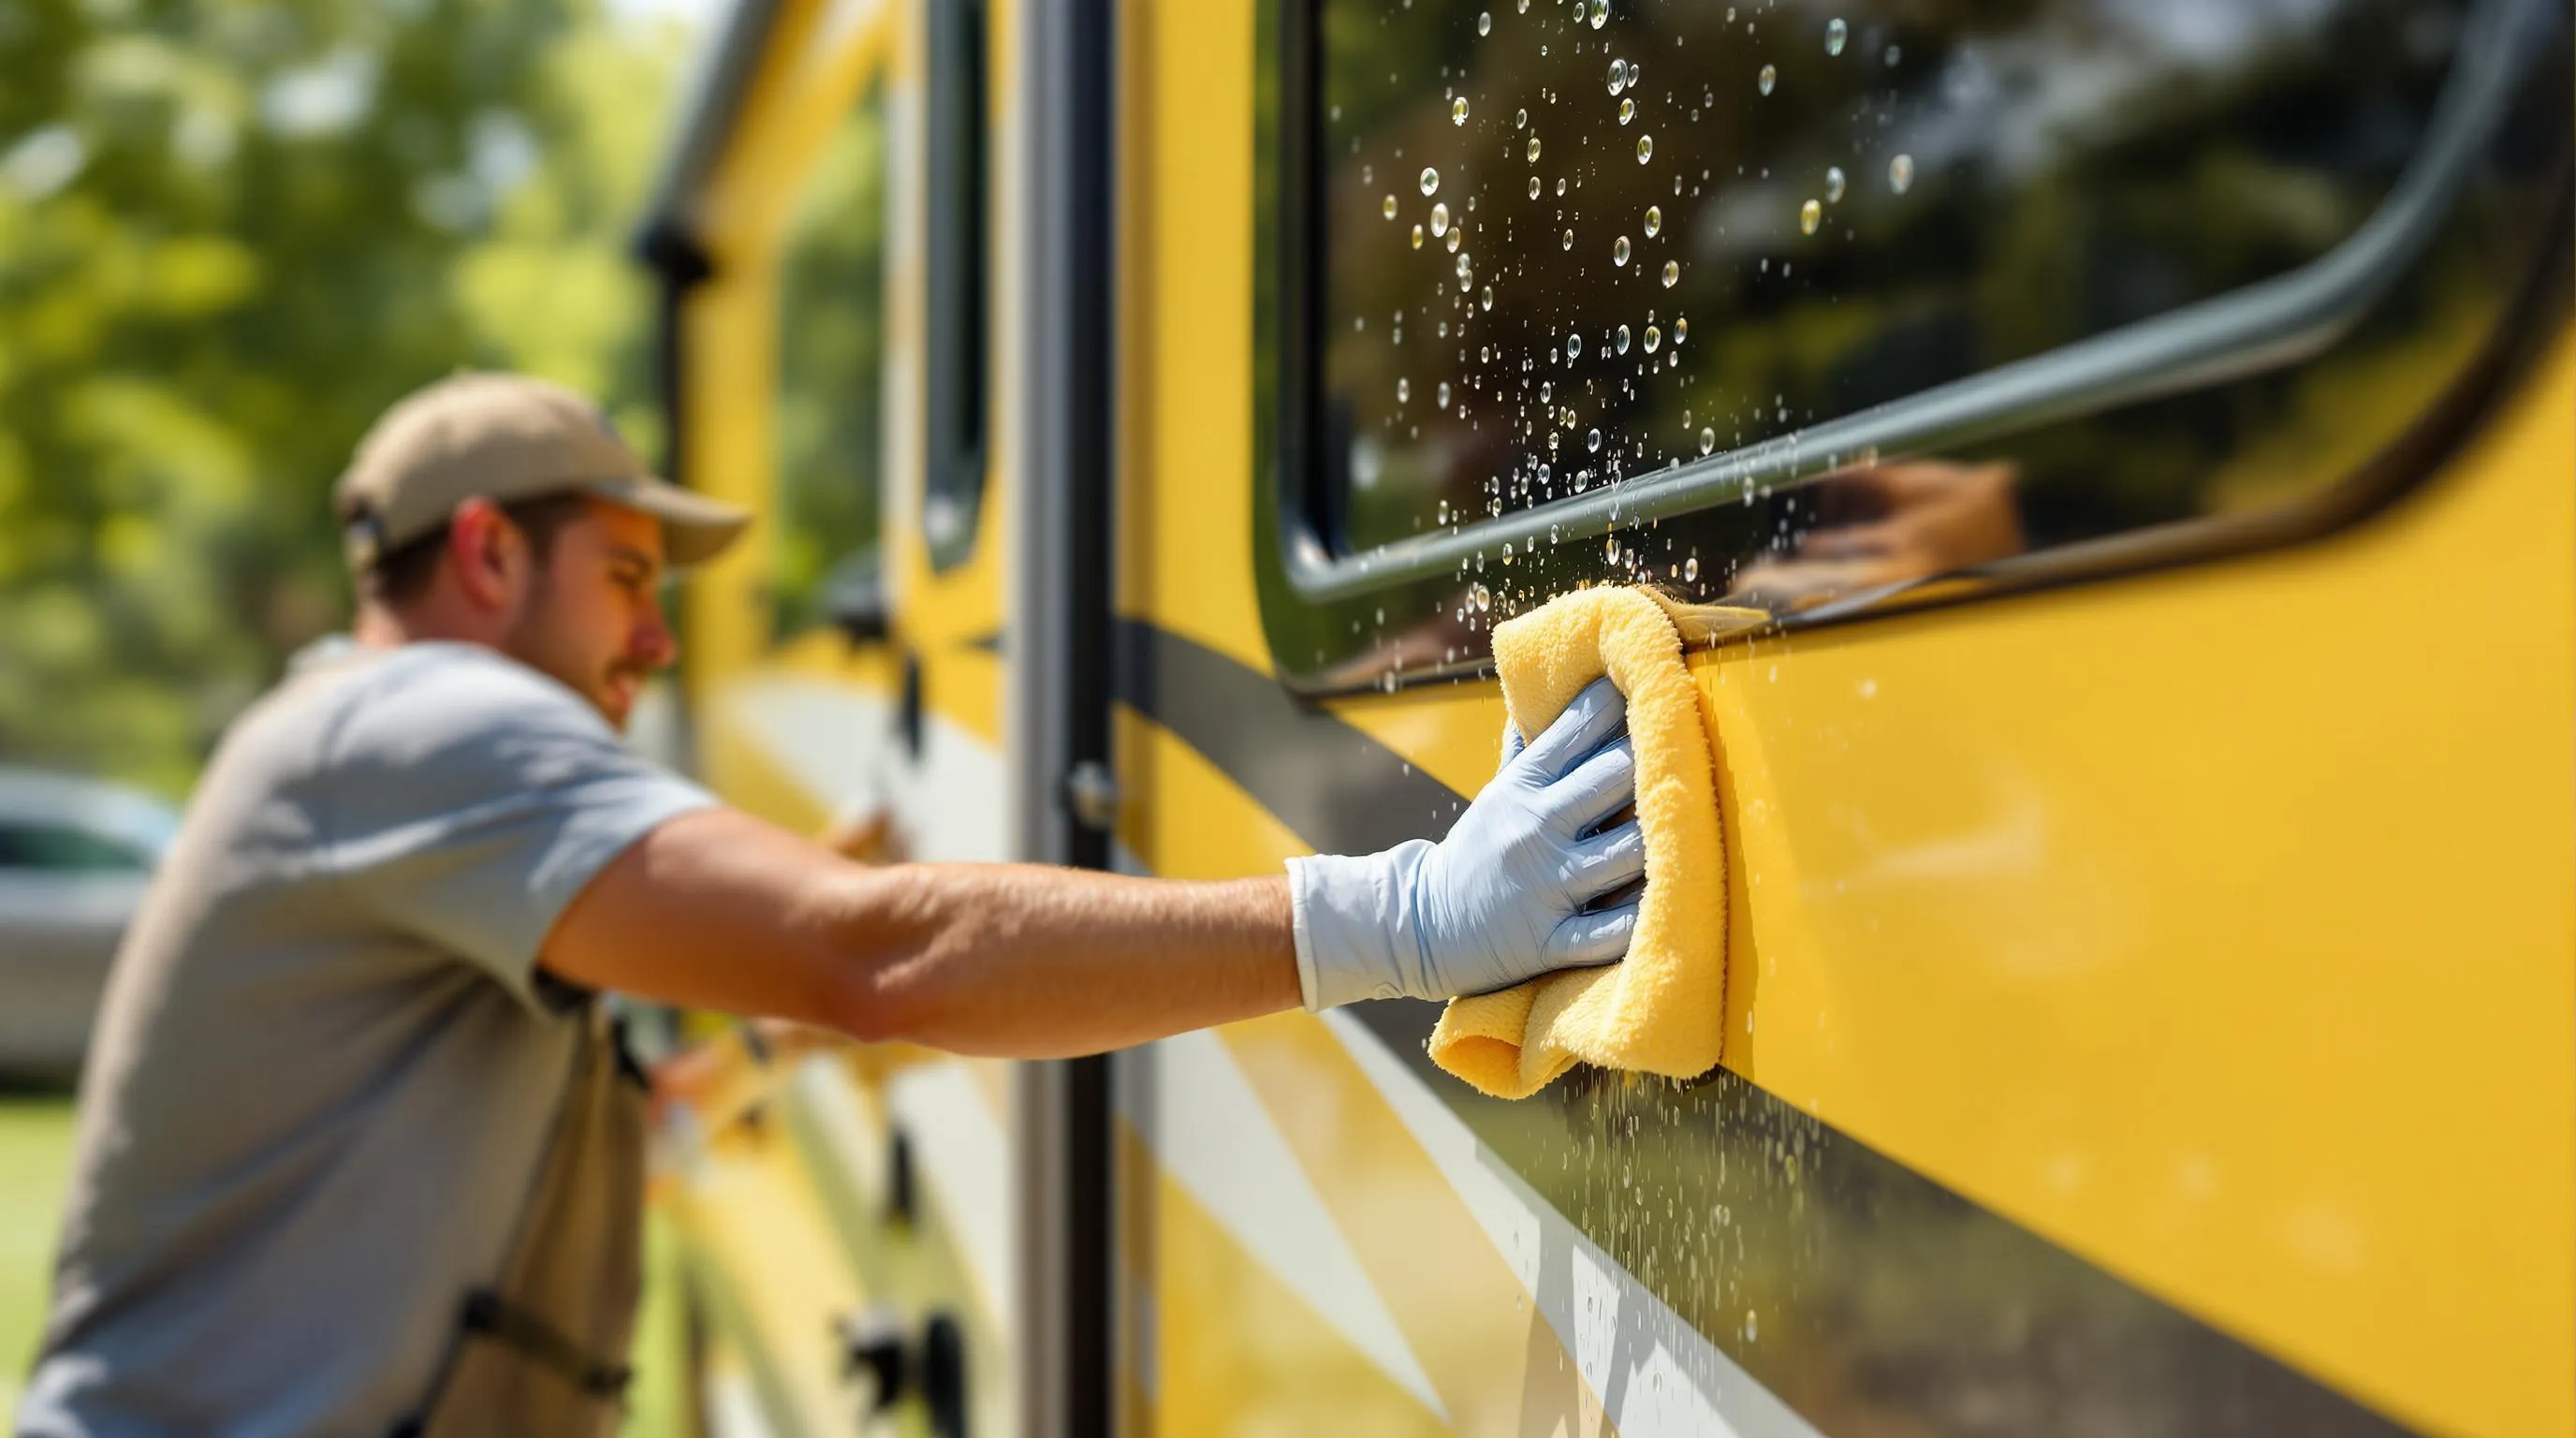
After investing time and money into painting your RV exterior, proper maintenance becomes essential to preserve that fresh, vibrant finish. We’ve compiled proven strategies to help protect your investment and keep your recreational vehicle looking showroom-ready for years to come.
1. Carry out a Regular Cleaning Schedule
Regular cleaning prevents dirt buildup that can damage your paint over time. We recommend using mild soap specifically formulated for vehicles, mixed with clean water, to wash your RV exterior at least monthly. Avoid harsh chemicals or household cleaners as they can strip protective coatings and accelerate paint deterioration. Soft microfiber cloths or washing mitts will prevent microscratches while effectively removing road grime and environmental contaminants.
2. Apply Protective Wax Treatments
Waxing your RV creates a sacrificial barrier between your paint and the elements. We suggest applying a high-quality RV or automotive wax every 3-4 months to maintain optimal protection. This practice not only enhances your RV’s shine but also repels water, prevents oxidation, and makes subsequent cleanings easier. For best results, apply wax in the shade on a cool, dry day, working in small sections with circular motions.
3. Shield Your RV from UV Damage
UV radiation remains one of the biggest threats to your RV’s paint job. We recommend using specialized RV-exact UV protectants that create an invisible shield against harmful rays. Whenever possible, park your vehicle in shaded areas or invest in a quality RV cover when storing for extended periods. Some owners install carports or awnings at their home base to provide consistent protection from direct sunlight.
4. Address Scratches and Chips Promptly
Even minor paint damage can lead to serious problems if left untreated. We advise inspecting your RV regularly for scratches or chips and repairing them immediately with touch-up paint that matches your vehicle’s color code. This quick action prevents moisture from penetrating beneath the paint surface, which could otherwise lead to corrosion and structural damage, particularly in metal-bodied RVs.
5. Use Gentle Washing Techniques
High-pressure washers can force water under decals and trim, damaging both the adhesives and paint underneath. We recommend using low-pressure washing methods or hand-washing techniques for routine cleaning. When utilizing commercial wash facilities, opt for touchless systems rather than brush-style washes that might create fine scratches across your finish.
6. Apply Paint Sealants for Long-Term Protection
Modern paint sealants offer significantly longer protection than traditional waxes. We suggest considering a polymer-based sealant application every 6-12 months for maximum durability. These products form a chemical bond with your paint surface, providing enhanced resistance against environmental contaminants, bird droppings, tree sap, and industrial fallout that can etch into your finish.
7. Maintain Proper Storage Conditions
How you store your RV dramatically affects paint longevity. We recommend climate-controlled indoor storage when possible, but if outdoor storage is your only option, ensure your RV is thoroughly cleaned and protected with appropriate covers. Remove any organic debris (leaves, pine needles, etc.) promptly, as these can trap moisture against your paint surface and cause staining or damage.
8. Schedule Professional Detailing Annually
Professional detailing services can identify and address paint issues before they become serious problems. We suggest scheduling a comprehensive detailing session annually, including clay bar treatment to remove embedded contaminants, polishing to restore gloss, and application of premium protection products. This investment typically costs $200-500 depending on your RV size but pays dividends in extended paint life.
Common Mistakes to Avoid When Painting Your RV Exterior

Even with the best paint products, your RV exterior renovation can quickly go wrong if you fall into these common traps. We’ve identified seven critical mistakes that can compromise your paint job’s durability and appearance.
Skipping Proper Surface Preparation
Thorough surface preparation forms the foundation of any successful RV paint job. Many DIYers rush through cleaning, sanding, and priming steps, resulting in poor adhesion and eventual peeling. Your paint needs a clean, properly textured surface to bond effectively, so never cut corners during this critical phase.
Ignoring Manufacturer Guidelines
Paint manufacturers provide exact instructions for a reason. Using incompatible products together, particularly mixing water-based paints without proper primers, significantly increases the risk of premature failure. Always read and follow the technical specifications for each product in your painting system.
Inadequate Priming
Applying paint directly to bare metal or fiberglass without a self-etching primer is a recipe for disaster. This oversight frequently leads to rust formation on metal surfaces or delamination on fiberglass parts. Quality primers create the essential bond between your RV’s surface and the topcoat.
Painting in Poor Environmental Conditions
The environment significantly impacts your paint’s ability to cure properly. Painting in high humidity, extreme temperatures, or direct sunlight affects adhesion and finish quality. Wait for ideal conditions—moderate temperatures between 65°F and 85°F with low humidity—to achieve optimal results.
Rushing Between Coats
Patience pays off when applying multiple layers of paint. Insufficient drying time between color coats and clear protective finishes compromises the entire system’s durability. Follow recommended curing times exactly, even if it means extending your project timeline by several days.
Using Low-Quality Materials to Save Money
The temptation to cut costs on paint and application tools often leads to disappointing outcomes. While premium automotive paints like catalyzed polyurethanes can exceed $700 per gallon, their superior performance justifies the investment. Low-quality alternatives typically require frequent touch-ups and complete repainting much sooner.
Neglecting UV Protection
Many RV owners overlook the importance of UV-resistant topcoats in their painting system. Sherwin-Williams specialized RV coatings and automotive-grade finishes like Jet-Glo and Axalta Imron offer excellent protection against sun damage. Without proper UV inhibitors, your paint job will quickly fade and deteriorate, especially if you frequently travel to sunny destinations.
Conclusion: Selecting the Best Paint for Your RV Exterior
Choosing the right paint for your RV exterior is a important investment in both aesthetics and protection. We’ve explored top-quality options from Rust-Oleum’s user-friendly application to Durabak’s safety features and TOTALBOAT’s professional-grade finish.
Remember that proper preparation and application techniques are just as important as the paint you select. Taking time to thoroughly clean repair and prime your surface will dramatically extend the life of your paint job.
With regular maintenance including cleaning waxing and prompt touch-ups your newly painted RV will maintain its beauty for years to come. The right paint combined with proper care won’t just protect your investment—it’ll ensure your home on wheels continues to turn heads wherever your adventures take you.
Frequently Asked Questions
Why is painting my RV exterior important?
Painting your RV exterior is crucial because it serves as the first line of defense against harsh weather, road debris, and UV rays. Quality paint prevents moisture damage, rust, and rot while protecting against sun damage with UV inhibitors. A well-maintained exterior also significantly increases resale value (by 15-25% in some cases) and can improve temperature regulation inside your RV with specialized paint formulations.
What types of paint are best for RV exteriors?
The three main types are acrylic latex (flexible and UV-resistant, ideal for aluminum), urethane (professional-grade with superior durability and glossy finish), and enamel-based paints (particularly modern acrylic-enamel hybrids offering good hardness and weather resistance). Your choice should depend on your RV’s surface material, desired finish, and environmental conditions.
What are the top recommended paints for RV exteriors?
Top recommended options include Rust-Oleum Topside Paint (user-friendly with UV resistance), Durabak Textured Non-Slip Coating (for safety), TOTALBOAT Marine Topside Paint (professional-grade), Majic Paints RePurpose (flexible and waterproof), Valspar Anti-Rust Armor Enamel (rust inhibitors), Diamond Brite Oil Base Enamel (high-gloss), and Krylon Fusion All-In-One Spray Paint (convenient for touch-ups).
What supplies do I need to paint my RV?
Essential supplies include cleaning agents, decal removal tools, sanding materials, microfiber cloths, painter’s tape, masking paper, drop cloths, personal protective equipment, primer, base color paint, clear coat, paint sprayers, rollers, and brushes. Having the right tools ensures a professional-looking, durable finish.
How do I prepare my RV surface before painting?
Thoroughly clean the exterior, remove old decals and adhesive residue, repair damaged areas, sand the surface, apply a quality bonding primer, mask off areas not to be painted, and create ideal painting conditions. Proper preparation is critical—it directly influences the longevity and appearance of your paint job.
What is the step-by-step process for painting an RV?
First, remove old decals and graphics using heat and specialized tools. Clean and prep the surface thoroughly, then lightly sand to improve paint adhesion. Apply the base coat, add optional designs or contrasting colors if desired, and finish with a clear coat for UV and environmental protection. Remember, the durability of your paint job depends on thorough preparation.
How can I maintain my RV’s paint job?
Maintain your RV paint with regular cleaning using mild soap and microfiber cloths, apply protective wax every 3-4 months, use UV protectants, address scratches promptly, employ gentle washing techniques, consider paint sealants, store properly, and schedule annual professional detailing. Proper maintenance ensures your paint remains vibrant and protected for years.
What common mistakes should I avoid when painting my RV?
Avoid insufficient surface preparation, ignoring manufacturer guidelines, skipping primer, painting in poor weather conditions, rushing between coats, using low-quality materials to save money, and neglecting UV protection. These mistakes can significantly compromise your paint job’s durability and appearance, wasting time and money in the long run.

