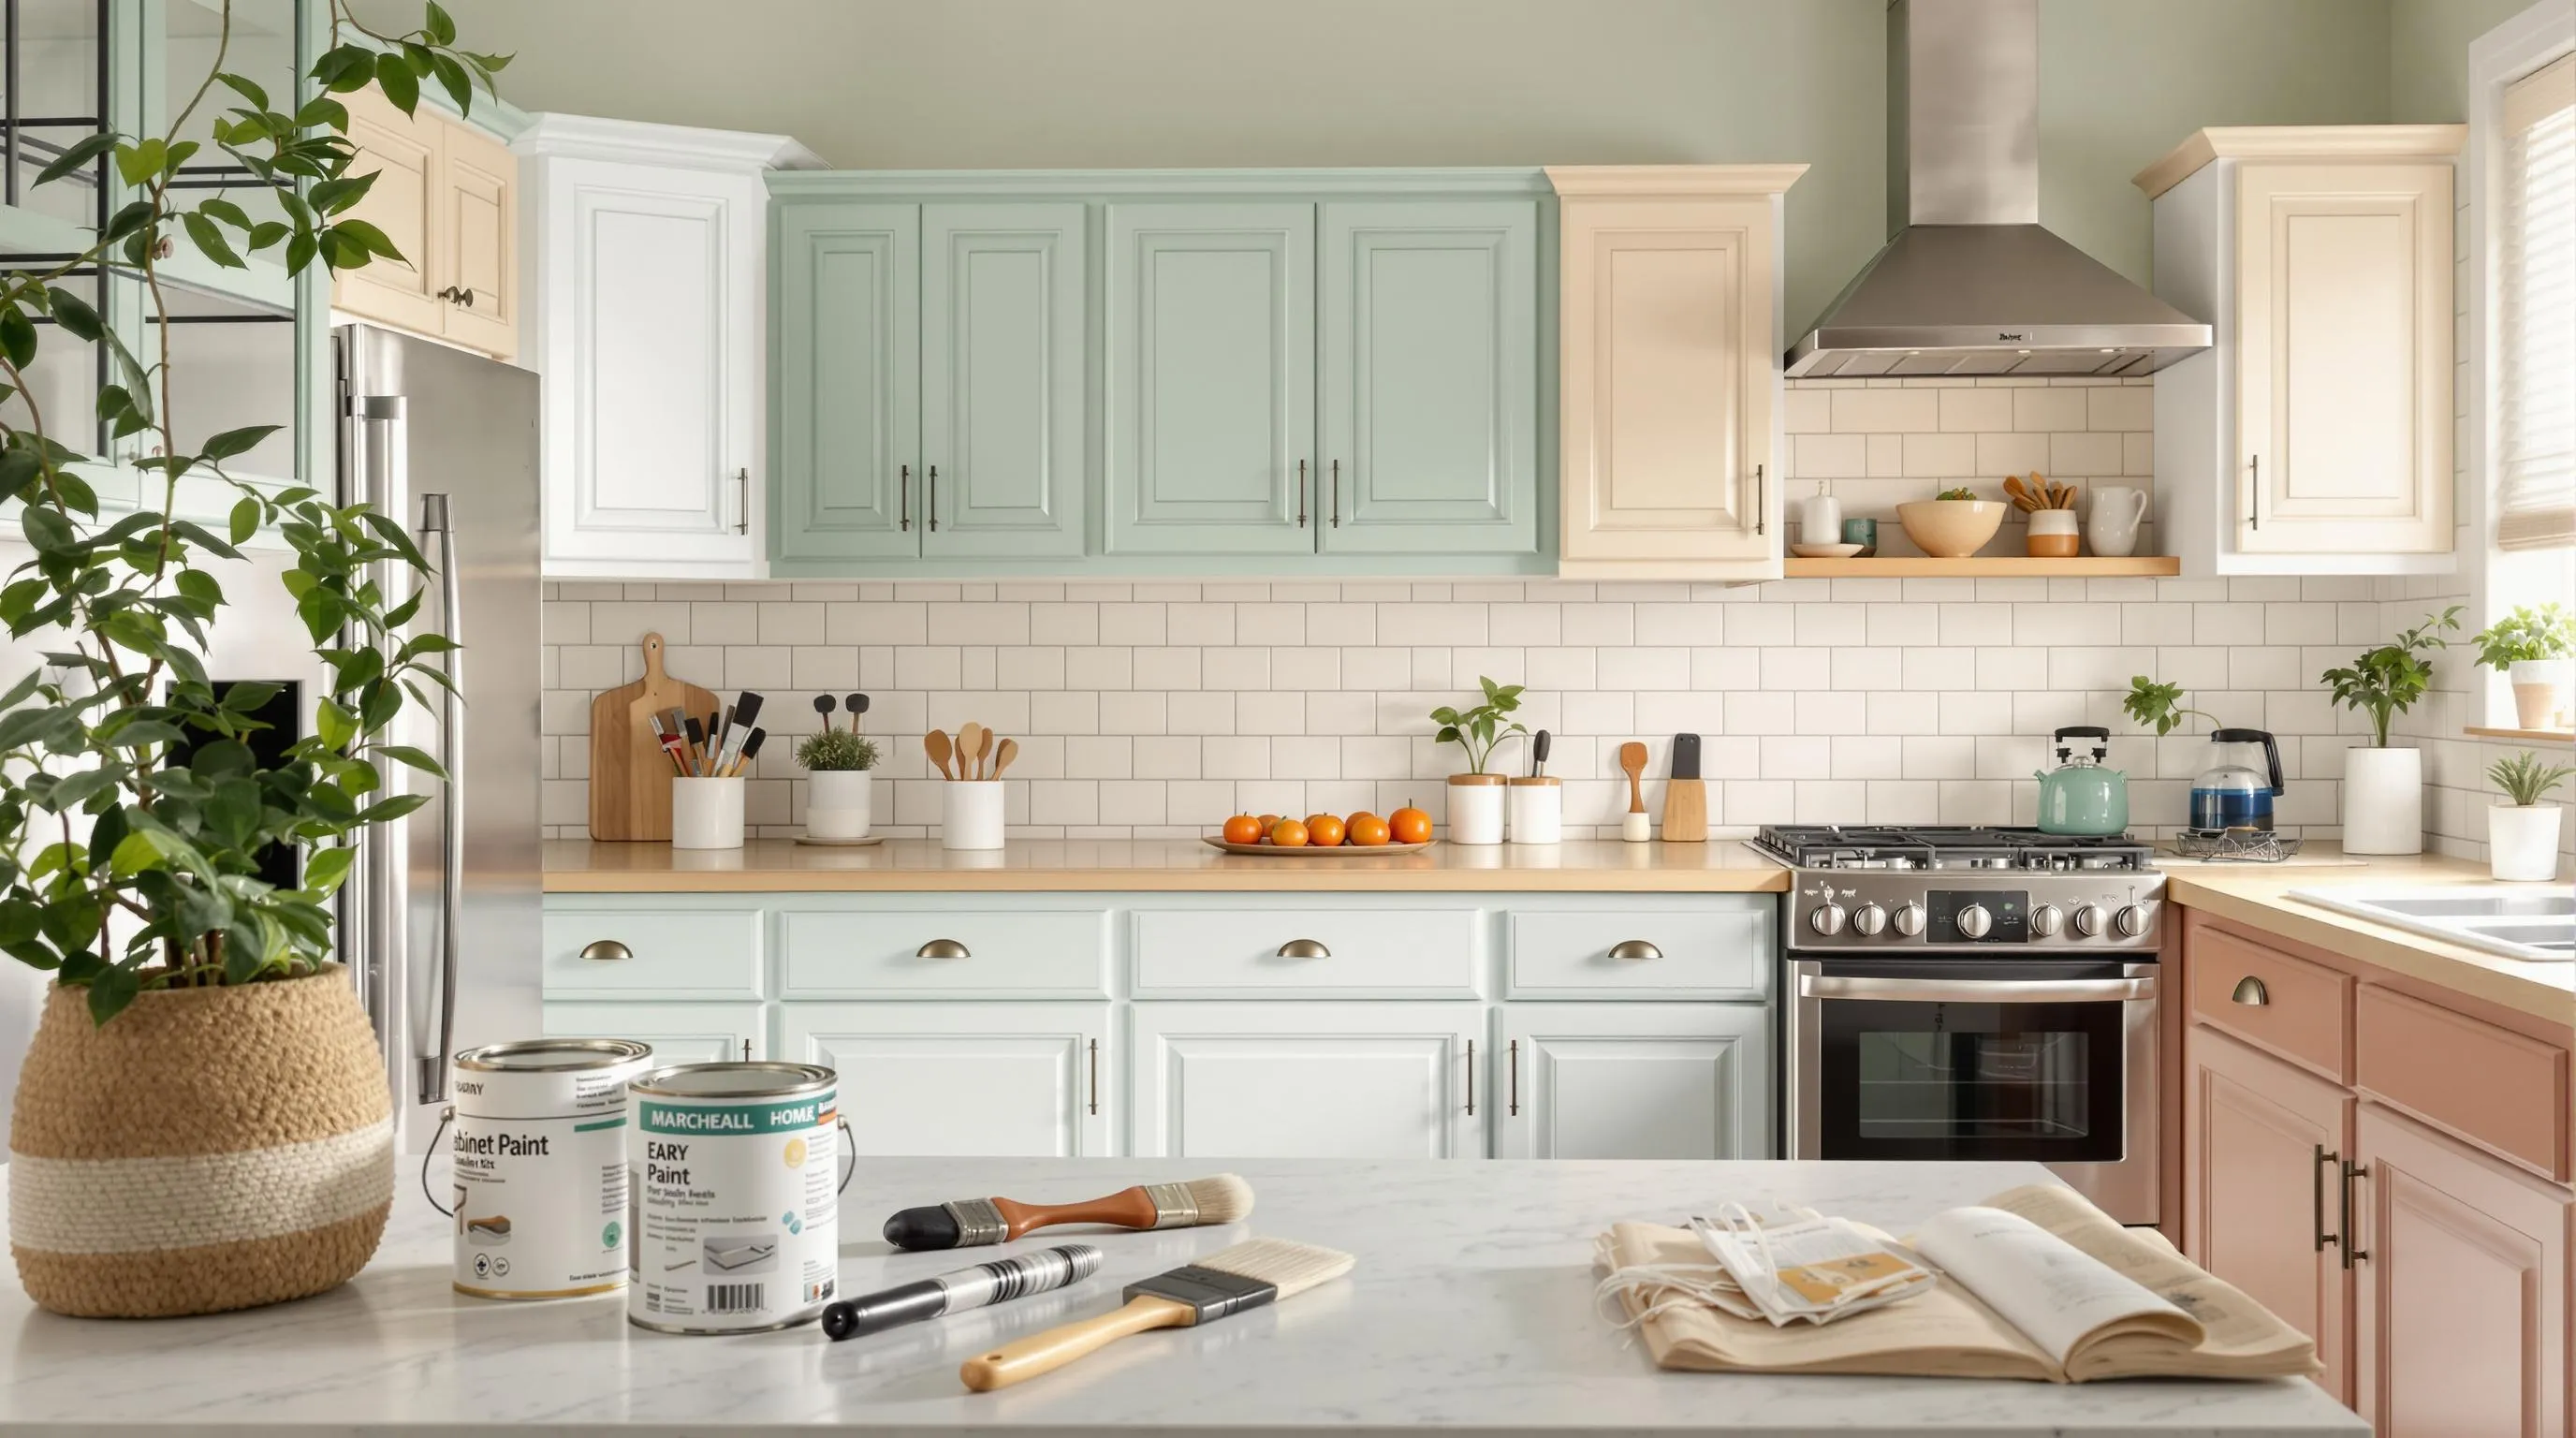
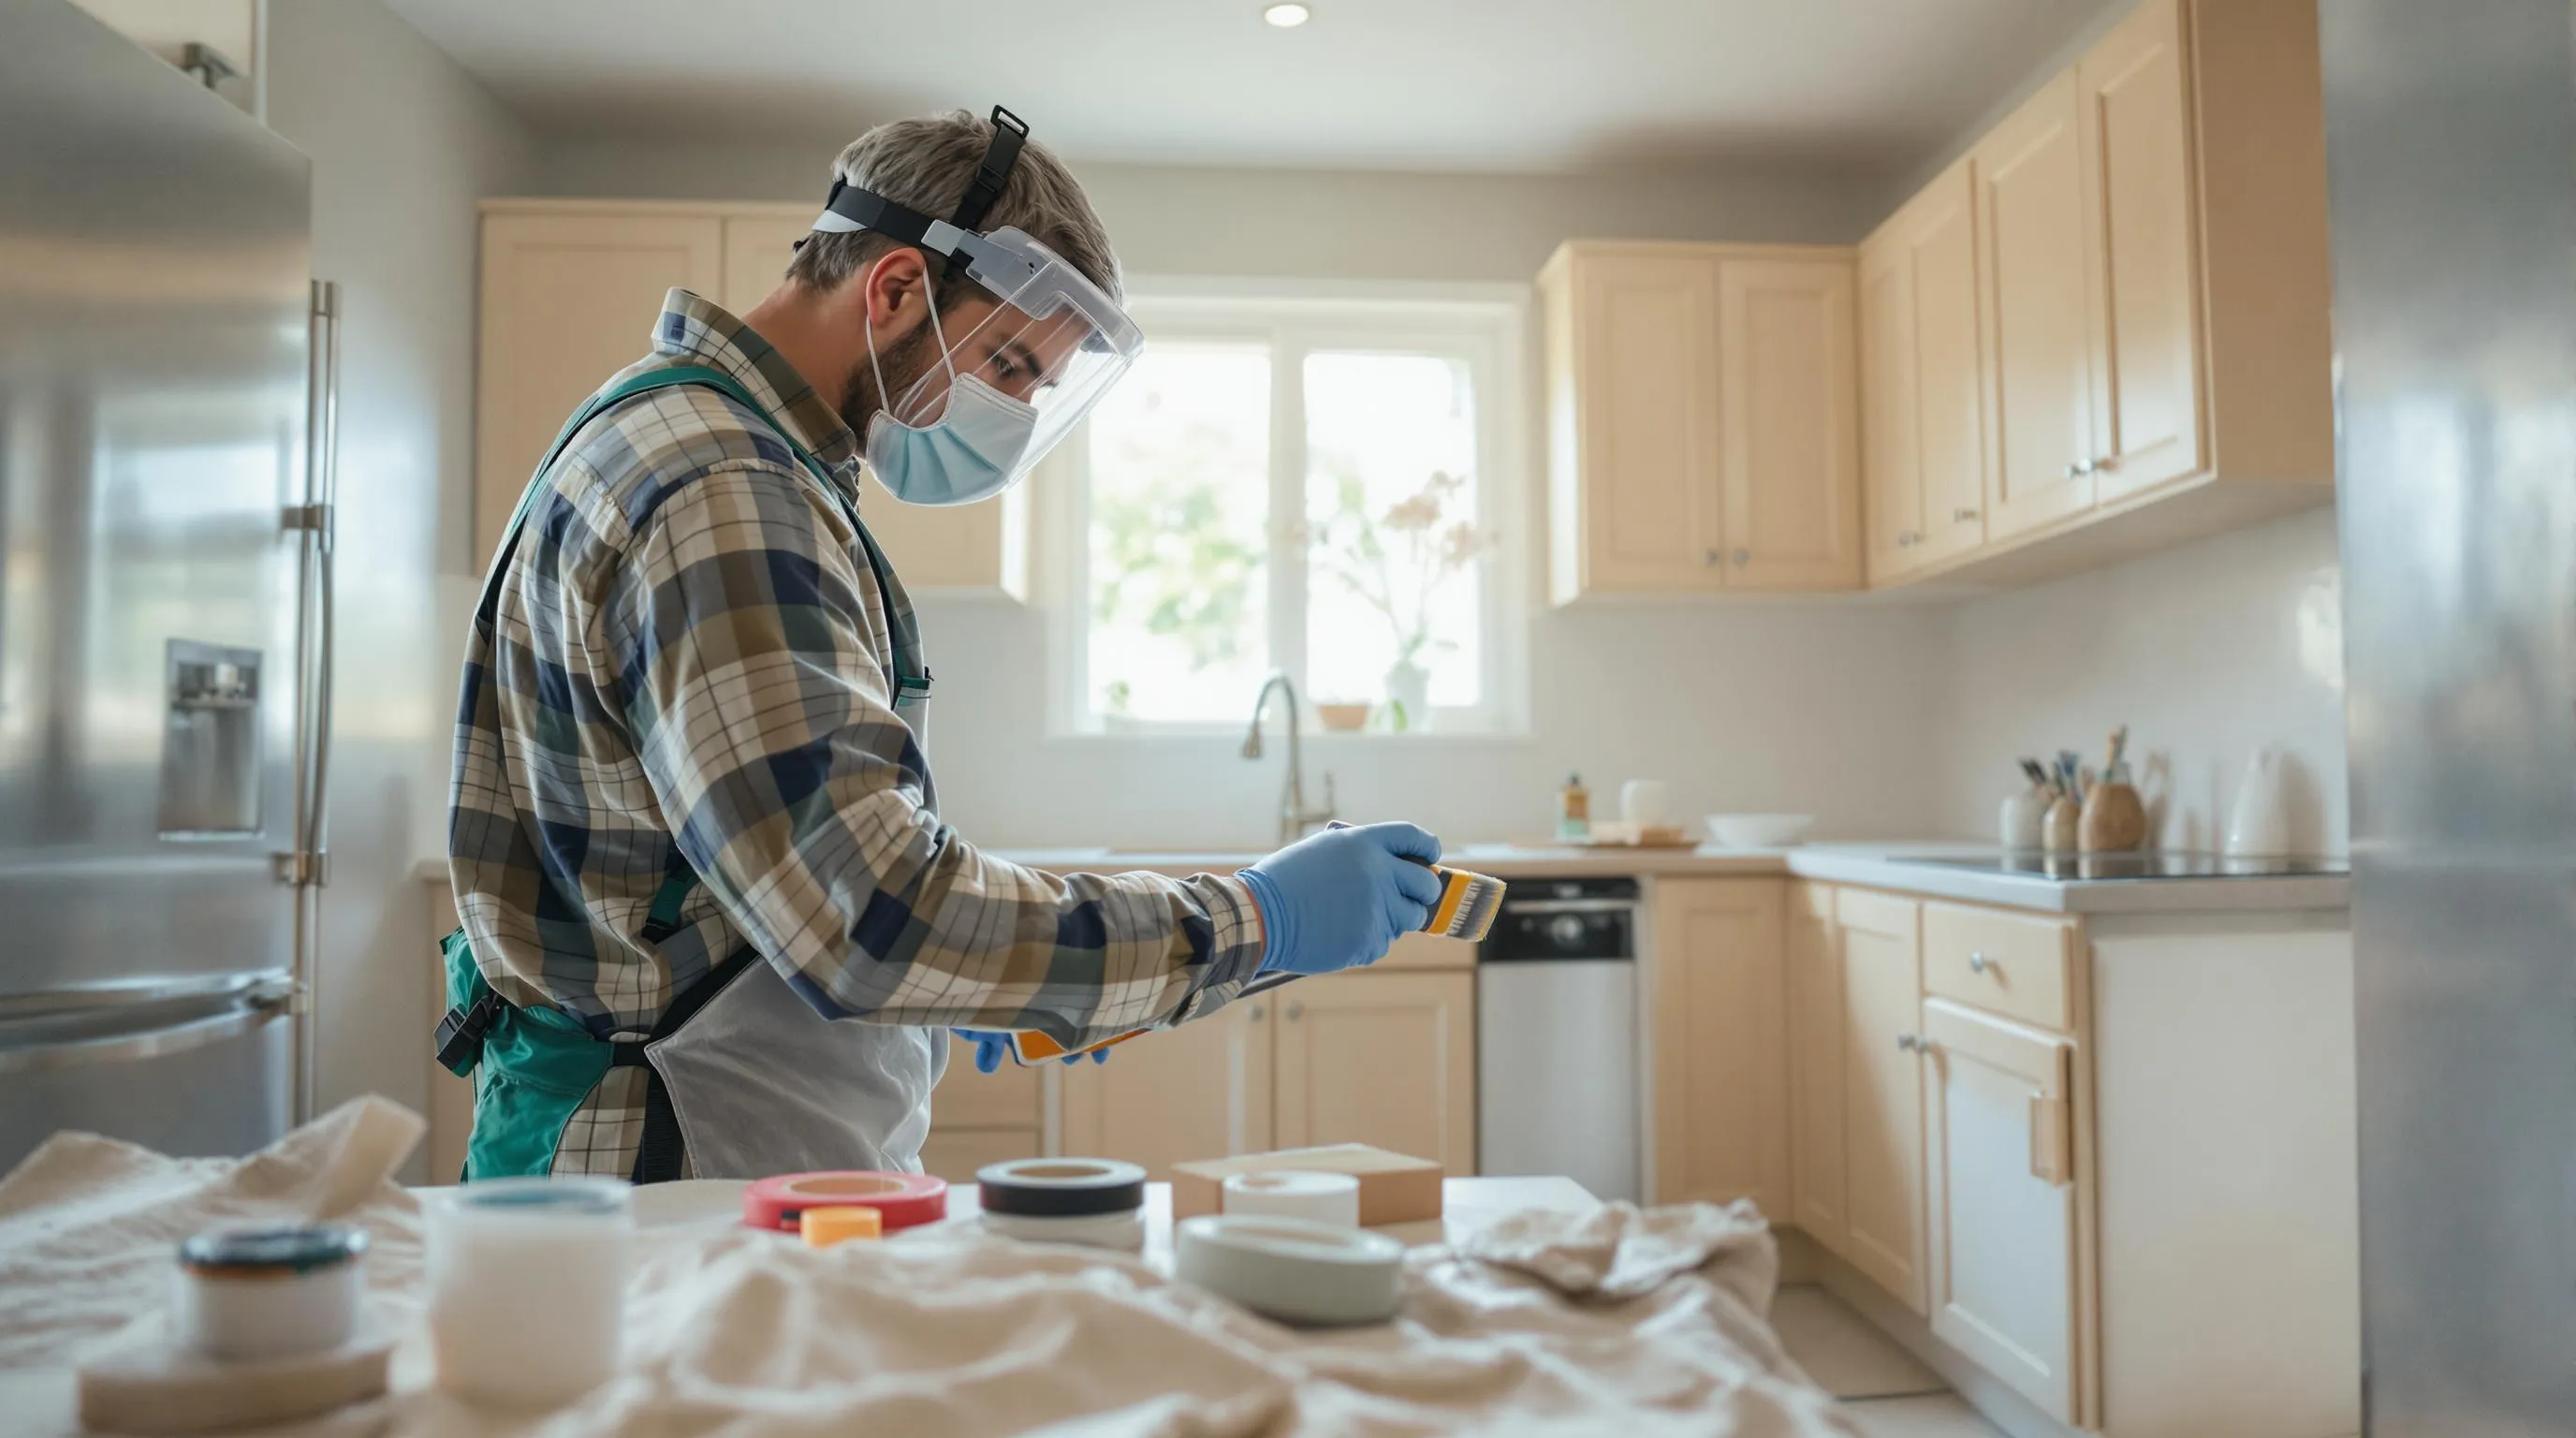
Transforming your kitchen cabinets doesn’t require a complete renovation. With the right cabinet paint kit, we’ve discovered you can achieve professional results at a fraction of the cost. These all-in-one answers provide everything needed to refresh tired cabinetry and breathe new life into your space.
We’ve tested dozens of cabinet paint kits on the market to identify which ones truly deliver outstanding results. From easy application to durability and finish quality, our comprehensive review focuses on the products that will make your DIY cabinet makeover a stunning success. Whether you’re looking for a classic white finish or a bold color statement, the perfect cabinet transformation is just a paint kit away.
Best Cabinet Paint Kits for a Professional Finish
After testing dozens of cabinet paint kits, we’ve narrowed down the top performers that deliver professional-quality results even for DIY beginners. Our selections balance ease of use, durability, and aesthetic appeal to help you transform your kitchen or bathroom cabinets with confidence.
1. Nuvo Cabinet Paint Kit
Nuvo’s water-based acrylic formula stands out for its exceptional coverage and silky finish. This comprehensive kit includes everything needed for a complete cabinet makeover: primer, paint, application tools, and detailed instructions. We particularly appreciate its low VOC content and minimal odor, making it perfect for indoor projects without overwhelming ventilation requirements. The paint dries to a hard, factory-like finish that resists scratches and daily wear, while requiring no additional topcoat.
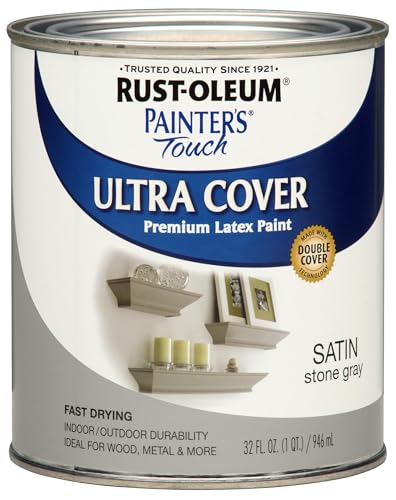
2. Rust-Oleum Cabinet Transformations
Rust-Oleum offers a foolproof system for achieving professional results with their highly rated Cabinet Transformations kit. The multi-step process includes a deglosser, bond coat, optional decorative glaze, and protective top coat that creates a finish resistant to stains and water damage. Users consistently report excellent durability even in high-traffic kitchens. The kit provides enough materials to cover up to 100 square feet, typically sufficient for a standard kitchen’s worth of cabinetry.
3. Beyond Paint All-In-One Refinishing Kit
Beyond Paint simplifies cabinet makeovers with their all-in-one formula that requires no priming, sanding, or sealing. The thick, self-leveling paint adheres to virtually any surface including laminate, wood, and metal cabinets. We found its built-in bonding technology creates excellent adhesion with minimal preparation work. The finished surface exhibits remarkable durability against chips and scratches, making it ideal for busy households with children or pets.
4. General Finishes Milk Paint Kit
General Finishes Milk Paint delivers an elegant, matte finish that’s perfect for achieving farmhouse or vintage aesthetics. Even though its name, this water-based acrylic paint provides excellent adhesion and a buttery smooth application that minimizes brush marks. The kit includes high-quality paint plus specialized topcoat options for customizing the final sheen. Professional painters often choose this brand for its exceptional self-leveling properties and ability to create depth through layering techniques.
5. Giani Wood Look Paint Kit
Giani specializes in transformation kits that mimic natural wood grain on existing cabinets. Their innovative system allows homeowners to create the appearance of expensive wood species at a fraction of replacement costs. The three-step process includes primer, wood tone base coat, and special grain applicators for realistic wood texture creation. Users report that guests frequently mistake their painted cabinets for brand new wood installations, testament to the kit’s convincing results.
6. Retique It Liquid Wood Kit
Retique It offers a unique solution for achieving authentic wood grain on any cabinet surface. Their liquid wood technology actually applies real wood particles suspended in a water-based formula. The kit includes base coat, grain enhancer, and protective topcoat to create depth and texture indistinguishable from solid wood. We found this system particularly valuable for transforming flat laminate cabinets into richly textured surfaces with natural wood characteristics.
7. Annie Sloan Chalk Paint Cabinet Kit
Annie Sloan pioneered decorative chalk paint, and their cabinet kit delivers the signature velvety matte finish that designers adore. The paint adheres exceptionally well with virtually no preparation required. Each kit includes premium chalk paint, specialized wax for protection, and application tools for creating various textured effects. The resulting finish offers a distinctive European aesthetic perfect for creating French country, shabby chic, or vintage-inspired cabinet designs.
Choosing the Right Type of Cabinet Paint Kit for Your Kitchen
Selecting the ideal cabinet paint kit can make all the difference in achieving professional-quality results for your kitchen makeover. Understanding the options available will help you make an well-informed choice based on your exact needs and preferences.
Oil-Based vs. Water-Based Cabinet Paint Kits
Water-based cabinet paint kits have become increasingly popular due to their environmental benefits and user-friendly properties. These formulations offer low VOC emissions, simple soap and water cleanup, and faster drying times—allowing you to recoat in just 6-16 hours. Waterborne alkyd paints like Benjamin Moore Advance deliver the best of both worlds, providing oil-like durability with water-based ease of use. These innovative formulations cure to a hard finish that withstands rigorous scrubbing while maintaining their beauty. The main drawback of water-based options is that they might require multiple coats to achieve full opacity.
Oil-based cabinet paint kits remain the gold standard for superior adhesion and hardness, making them ideal for high-moisture kitchen environments. Their exceptional durability ensures your cabinets will stand up to years of daily use without showing important wear. Traditional oil-based formulations do come with notable drawbacks, including strong fumes during application, significantly longer drying and curing times (often 24+ hours between coats), and the necessity of mineral spirits for cleanup. Many professionals still prefer these formulations for their unmatched finish quality even though these inconveniences.
Brush-On vs. Spray Cabinet Paint Kits
Brush and roller application methods provide more controlled coverage and minimal overspray, making them perfect for DIYers working in occupied homes. Premium products like Benjamin Moore Advance can achieve remarkably smooth, factory-like finishes when applied with proper technique. Using quality brushes and rollers designed specifically for cabinet painting will minimize visible brush strokes and create a professional appearance without specialized equipment.
Spray application delivers unmatched speed and flawless finishes, particularly on cabinetry with intricate details or moldings. This method distributes paint evenly across all surfaces, eliminating brush marks completely and creating that coveted showroom-quality finish. Proper spray application does require considerable preparation, including thorough masking of surrounding areas, adequate ventilation, and familiarity with spray equipment. Hybrid alkyd enamels, such as Sherwin Williams Emerald Urethane Trim Enamel, perform exceptionally well when sprayed, providing faster drying times while maintaining excellent durability.
Key features to look for in quality cabinet paint kits include superior durability (hybrid alkyds excel in scrub tests, even withstanding waterproof mascara removal without damage), excellent finish quality (waterborne alkyds level better than traditional urethanes, minimizing visible application marks), and versatile color options (premium brands like Benjamin Moore and Sherwin Williams offer unlimited customization possibilities).
Top 10 Cabinet Paint Kits for DIY Home Renovations
- Sherwin-Williams Emerald Urethane Trim Enamel – This premium kit offers a water-based application with an oil-based finish, delivering exceptional durability that stands up to daily wear and tear. Professional painters and DIY enthusiasts alike praise its smooth application and long-lasting results.
- Behr Marquee Advanced Stain-Blocking Paint & Primer – Known for its impressive one-coat coverage and quick drying time, this kit eliminates the need for multiple applications. You’ll find over 1,000 color options to perfectly match your design vision.
- Behr Interior Satin Cabinet and Trim Enamel – Providing excellent value without sacrificing quality, this kit delivers impressive coverage at a budget-friendly price point. Its satin finish strikes the perfect balance between matte and glossy appearances.
- Wise Owl One Hour Enamel – Perfect for those looking to complete projects quickly, this fast-drying formula cures in just one hour. Weekend warriors appreciate its efficiency without compromising on the quality of the finish.
- Behr Premium Plus Enamel Paint – This budget-conscious option features low odor and emissions while still providing excellent coverage. Homeowners with sensitivities particularly value its minimal chemical impact during application.
- Rust-Oleum Transformations Cabinet Kit – Requiring minimal prep work, this comprehensive kit makes cabinet renovation accessible to novice DIYers. The all-inclusive system guides users through each step of the transformation process.
- Nuvo Driftwood Cabinet Paint Kit – Created by Giani, this kit excels at delivering a beautiful rustic aesthetic that adds character to kitchen spaces. Users consistently praise the authentic wood-like finish it achieves.
- General Finishes Milk Paint Cabinet Kit – The water-based formula makes application smooth and forgiving for beginners. DIY enthusiasts appreciate its user-friendly nature and the rich, velvety finish it creates.
- HDX Cabinet Paint Kit – Offering remarkable affordability without sacrificing quality, this accessible option makes cabinet renovation possible on even the tightest budgets. Its straightforward application process appeals to first-time painters.
- Benjamin Moore Cabinet Paint Kit – Renowned for its premium quality, this kit provides exceptional durability and a professional-grade finish. The superior pigmentation delivers rich, consistent color that maintains its beauty for years.
Premium Cabinet Paint Kits Worth the Investment
When looking for top-tier results, Sherwin-Williams Emerald Urethane Trim Enamel stands as the gold standard in cabinet finishes. We’ve found its water-based application combined with an oil-based finish creates a perfect balance of workability and durability. This premium option resists chipping and staining even in high-traffic kitchens, making it worth every penny for long-term performance.
Behr Marquee Advanced Stain-Blocking Paint & Primer earns its premium status through exceptional coverage capabilities. The built-in primer saves important time and effort by eliminating an entire step in the renovation process. Professional-quality results come from its advanced formula that blocks existing stains and prevents new ones, perfect for busy family kitchens where cabinets face daily challenges.
Budget-Friendly Cabinet Paint Kits That Deliver Results
Behr Premium Plus Enamel Paint proves you don’t need to expensive for beautiful cabinets. This affordable option delivers surprisingly professional results while featuring low VOC emissions that make it suitable for households with children or pets. The balanced price-to-performance ratio makes it our top recommendation for budget-conscious renovators.
Behr Interior Satin Cabinet and Trim Enamel combines economy with impressive coverage capabilities. We’ve seen remarkable transformations using this cost-effective solution that provides a smooth, durable finish that withstands cleaning and daily use. The satin sheen offers a modern look that hides minor imperfections better than glossier alternatives.
HDX Cabinet Paint Kit stands out as the ultimate bargain option without compromising on quality. First-time DIYers appreciate its straightforward application process and forgiving formula that allows for easy correction of mistakes. The kit includes everything needed to complete a full cabinet makeover at a fraction of the cost of higher-priced alternatives.
Essential Features to Look for in a Quality Cabinet Paint Kit
When investing in a cabinet paint kit, certain features can make the difference between a mediocre makeover and a stunning transformation that lasts for years. We’ve identified the key elements that separate average products from exceptional ones.
Coverage Capacity and Finish Options
A top-tier cabinet paint kit should provide excellent coverage, even on challenging surfaces like dark wood or previously stained cabinets. Look for formulations specifically designed to hide existing colors without requiring excessive coats. Most quality cabinet paints offer multiple finish options to suit different design preferences and practical needs. The best kits include choices ranging from matte for a modern farmhouse look to high-gloss for contemporary kitchens, with satin and semi-gloss finishes falling in between for balanced appearance and cleaning ease. These versatile options ensure you can achieve your exact desired aesthetic while maintaining functionality.
Durability and Resistance to Daily Wear
Kitchen cabinets face daily abuse from cooking splashes, cleaning products, and constant handling, making durability the most critical feature in any quality paint kit. Premium options like Benjamin Moore Advance and Sherwin Williams Emerald Urethane Trim Enamel dry to an exceptionally hard finish that resists scratches, chipping, and fading over time. Water resistance is non-negotiable for kitchen cabinets, as exposure to moisture is inevitable in this environment. The best cabinet paints create a barrier that prevents water damage and maintains integrity through countless cleanings. Scrub resistance should also be prioritized, allowing you to wipe away tough stains without damaging the paint surface—a feature particularly valuable in homes with young children or enthusiastic cooks.
Step-by-Step Guide to Using a Cabinet Paint Kit Successfully
Materials Needed:
- Cabinet paint kit (choose your preferred brand)
- Sandpaper (150-grit)
- Paintbrushes or rollers
- Primer (optional)
- Drop cloths
- Masking tape
Instructions:
- Prepare the Workspace
Start by moving all furniture away from the painting area to prevent accidental damage. Cover your floors and surrounding surfaces with drop cloths to protect them from paint splatters. Proper preparation ensures a smooth painting process and prevents unnecessary cleanup afterward.
- Remove Hardware
Take off all cabinet knobs, handles, and hinges before beginning. Removing hardware allows for easier access to all cabinet surfaces and ensures a more professional looking finish without paint buildup around these areas.
- Clean the Cabinets
Apply a quality degreaser to thoroughly clean all cabinet surfaces. Kitchen cabinets often accumulate grease, food residue, and general grime that can prevent proper paint adhesion if not removed.
- Sand the Cabinets
Lightly sand all surfaces with 150-grit sandpaper to create texture for better paint adhesion. Sanding helps the paint bond properly to the cabinet surface, especially on glossy or previously finished cabinets.
- Prime (Optional)
Apply primer if your cabinets have a glossy finish or uneven color. Priming creates an ideal base for your paint and may be necessary for cabinets with dark colors or important color changes.
- Apply Paint
Follow your exact kit’s instructions for the most accurate application process. Most cabinet paint kits require two coats with adequate drying time between applications for optimal results and durability.
- Allow Drying
Let the paint cure completely according to the kit’s instructions. Proper curing time varies by product but is crucial for ensuring your cabinets develop maximum durability and resistance to daily wear.
- Reattach Hardware
Once fully dry, reinstall all knobs, handles, and hinges to complete your cabinet transformation. Adding back the hardware is the final step that brings your newly painted cabinets to life.
Recommended Cabinet Paints:
- Behr Interior Satin Cabinet and Trim Enamel: Known for its affordability and excellent coverage, this option delivers professional results without very costly.
- Sherwin-Williams Emerald Urethane Trim Enamel: Top-rated for durability, this premium option provides exceptional resistance to everyday wear and tear.
- Wise Owl One Hour Enamel: Perfect for quick projects, this fast-drying option offers a smooth finish when time is limited.
Tips:
- Ensure proper ventilation during painting to avoid inhaling fumes.
- Use high-quality rollers or brushes for the smoothest possible finish.
- Test your paint on an inconspicuous area first to confirm color and finish satisfaction.
Common Mistakes to Avoid When Using Cabinet Paint Kits
Even with the best cabinet paint kit in hand, your project can go sideways if you fall prey to common pitfalls. We’ve identified these frequent mistakes that can compromise your cabinet makeover results:
Skipping Proper Preparation
Rushing through or completely bypassing the preparation phase leads to poor paint adhesion and premature failure. Many DIYers underestimate how critical cleaning, sanding, and deglossing are for creating a surface that paint can properly grip. Both Rust-Oleum and Giani kits specifically emphasize these preparation steps because they’re fundamental to achieving professional results.
Not Allowing Sufficient Drying Time
Applying subsequent coats before the previous layer has fully dried traps moisture underneath, leading to bubbling, peeling, and a ruined finish. Most quality cabinet paints require 2-4 hours between coats and up to 24 hours for full curing. Wise Owl One Hour Enamel is a notable exception with its quick curing time, but even this formula needs proper drying conditions to perform as advertised.
Choosing the Wrong Sheen
Selecting an overly glossy finish often highlights every imperfection in your cabinetry rather than creating the sleek look you desire. Satin and eggshell finishes strike the perfect balance between durability and aesthetics, hiding minor cabinet flaws while still providing enough protection for kitchen environments.
Working in Poor Ventilation
Failing to ensure adequate airflow during your painting project can lead to health concerns and affect paint curing. Hybrid alkyd enamels like Sherwin Williams Emerald Urethane emit particularly strong fumes during application, requiring proper ventilation for safe application and optimal drying.
Overloading Brushes and Rollers
Applying too much paint at once creates unsightly drips, bubbles, and texture issues that ruin the smooth finish you’re seeking. This mistake occurs frequently with thicker formulations like Behr’s Satin Cabinet Enamel, which requires a disciplined approach with thinner, multiple coats rather than heavy application.
Forgetting the Protective Top Coat
Omitting the protective sealer included in comprehensive kits like Rust-Oleum Cabinet Transformations and Giani Nuvo significantly reduces your cabinets’ resistance to scratches, stains, and moisture damage. This final step may seem optional but actually provides crucial long-term protection for your investment.
Neglecting Color Compatibility
Selecting a cabinet color without testing it against existing fixtures, countertops, and wall colors often results in an uncoordinated kitchen design. Premium brands like Sherwin Williams and Behr offer sample sizes specifically to avoid this costly mistake and ensure your cabinet color enhances your overall space.
Having Unrealistic Expectations
Assuming budget-friendly options will perform identically to premium products sets you up for disappointment. While Behr’s Cabinet and Trim Enamel provides excellent value at $0.36/oz, it may require more frequent touch-ups than the more durable but pricier Sherwin Williams Emerald Urethane, which consistently ranks highest in performance tests.
Maintenance Tips for Painted Cabinets to Extend Longevity
1. Use Gentle Cleaning Answers
Preserving your cabinet finish starts with proper cleaning. Always use mild soap and water for routine cabinet maintenance, avoiding harsh chemical cleaners that can break down your paint finish over time. Harsh abrasives and scouring pads will damage the protective surface of your cabinets, potentially exposing the substrate underneath. For best results, apply your cleaning solution to a soft microfiber cloth rather than directly to the cabinet surface.
2. Apply a Protective Finish
Adding a polyurethane or wax topcoat significantly enhances your cabinets’ resistance to daily wear and tear. This extra layer serves as a sacrificial barrier against scratches, stains, and moisture that threaten your paint job. Premium cabinet paints like Sherwin-Williams Emerald Urethane already contain protective elements, but additional protection extends longevity even further. Two thin coats of protection will outperform a single thick application.
3. Prevent Moisture Damage
Water is the enemy of painted cabinet surfaces, causing warping, swelling, and paint peeling when left unaddressed. Immediate attention to spills, especially near the sink and dishwasher areas, prevents moisture from penetrating beneath the paint surface. Installing under-sink cabinet protectors offers additional defense against leaks and condensation that commonly affect this vulnerable area.
4. Conduct Regular Inspections
Proactive maintenance prevents small issues from becoming major problems. Examine your cabinets monthly for chips, scratches, or wear spots that might expose the substrate. Address any damage promptly with touch-up paint from your original kit (this is why we always recommend saving leftover paint). Rust-Oleum Cabinet Transformations kits include touch-up supplies specifically for this purpose, making repairs straightforward even years later.
5. Protect Against UV Exposure
Sunlight gradually fades and degrades painted cabinet surfaces, particularly in kitchens with large windows. Installing window treatments like blinds or UV-filtering window film prevents premature color fading and finish breakdown. South and west-facing kitchen cabinets typically require additional protection due to increased sun exposure throughout the day.
6. Avoid Direct Heat Exposure
Placing hot items directly against painted cabinet surfaces creates thermal stress that damages your finish. Using trivets and heat-resistant pads near cooking areas protects both the paint and underlying cabinet structure. The area above dishwashers and ovens requires special attention, as rising steam and heat repeatedly stress these cabinet surfaces over time.
7. Handle With Care
Even the most durable finishes like Behr Interior Satin Cabinet and Trim Enamel benefit from mindful daily use. Opening cabinets by their handles rather than touching the painted surfaces prevents oil transfer from fingertips that attracts dirt and degrades the finish. Teaching household members proper cabinet use extends the life of your paint job without requiring additional maintenance.
Conclusion: Selecting the Best Cabinet Paint Kit for Your Project
Choosing the right cabinet paint kit can transform your kitchen without very costly. We’ve highlighted options that cater to every skill level budget and style preference from premium products like Sherwin-Williams to budget-friendly alternatives that still deliver impressive results.
Remember that success depends not just on the product you choose but also on proper preparation application and maintenance. Whether you prefer water-based convenience or oil-based durability there’s a perfect cabinet paint kit waiting for your project.
With the right kit and techniques you’ll achieve that professional-looking finish you’ve been dreaming of. Your refreshed cabinets will become the stunning focal point of your kitchen for years to come.
Frequently Asked Questions
Are cabinet paint kits worth the investment?
Yes, cabinet paint kits are definitely worth the investment. They offer an affordable alternative to full cabinet replacement, often costing just a fraction of renovation expenses. Most kits come with all necessary materials, eliminating separate purchases. Quality kits provide durable, professional-looking results that can last for years when properly maintained, making them an excellent investment for transforming your kitchen’s appearance.
How do water-based and oil-based cabinet paint kits compare?
Water-based cabinet paint kits are environmentally friendly with low VOC emissions and faster drying times. They’re easier to clean up and produce less odor. Oil-based kits offer superior adhesion and durability, making them ideal for high-moisture environments like kitchens. Oil-based options typically provide a smoother finish but require longer drying times and proper ventilation during application.
What’s the best application method for cabinet paint kits?
The best application method depends on your preference and project scope. Brush and roller techniques provide controlled coverage and are beginner-friendly. They’re ideal for detailed work and smaller projects. Spray application offers speed and a flawless, streak-free finish but requires more preparation, proper equipment, and technique. Most quality cabinet paint kits work well with either method.
How long does it take to complete a cabinet painting project?
A complete cabinet painting project typically takes 2-7 days. This includes 1-2 days for preparation (removing doors, cleaning, sanding), 1 day for priming, 1-2 days for painting (allowing drying time between coats), and 1-2 days for the paint to fully cure before reattaching hardware. The timeline varies based on your kitchen size, the paint type, and environmental conditions like humidity.
Can I paint cabinets without removing them?
Yes, you can paint cabinets without removing them, but removing doors and drawers is strongly recommended for best results. If you must paint in place, thoroughly clean all surfaces, use painter’s tape to protect adjacent areas, remove all hardware, and work methodically from top to bottom. Be aware that painting in place may result in a less smooth finish and potential drips.
What preparation is required before using a cabinet paint kit?
Proper preparation is crucial and includes: removing all doors, drawers and hardware; thoroughly cleaning surfaces with a degreaser to remove kitchen oils and residue; lightly sanding surfaces to create adhesion; filling any holes or imperfections; and wiping away all dust. Most premium cabinet paint kits include detailed preparation instructions and sometimes the necessary supplies for this critical step.
How durable are cabinet paint kit finishes?
Quality cabinet paint kit finishes are highly durable when properly applied. Premium options like Sherwin-Williams Emerald and Behr Marquee offer exceptional resistance to scratches, chipping, and water damage. Most kits are formulated specifically for high-use surfaces and include protective topcoats. With proper application and maintenance, a quality cabinet paint job can last 5-10 years before needing touch-ups.
What’s the difference between budget and premium cabinet paint kits?
Premium cabinet paint kits ($40-100) offer superior coverage, durability, and finish quality. They typically require fewer coats, provide better adhesion, and include higher-quality supplies. Budget options ($20-40) can still deliver good results but may require more coats, provide less durability, and include basic supplies. The performance gap is noticeable in high-moisture environments and with daily wear and tear.
How do I maintain my newly painted cabinets?
Maintain painted cabinets by cleaning with gentle, non-abrasive solutions; avoid harsh chemicals and abrasive scrubbers. Allow 2-3 weeks before regular cleaning to ensure complete curing. Apply a protective finish annually for extra durability. Prevent water damage by wiping spills immediately and checking under-sink areas regularly. Handle cabinets gently, avoiding slamming doors and drawers, which can chip paint over time.
What mistakes should I avoid when using cabinet paint kits?
Avoid skipping proper preparation—cleaning and sanding are essential. Don’t rush the drying process between coats, which can cause bubbling and peeling. Choose the appropriate sheen for your needs—high gloss shows imperfections while matte shows dirt more easily. Work in well-ventilated areas to avoid health issues and ensure proper drying. Never skip the protective topcoat included in most kits, as it’s crucial for durability.

