I’ll help you remove your fireplace mantel safely. First, find all fasteners by inspecting underneath, inside hollow sections, and behind corbels—don’t assume caulking means no hardware. Next, score seams along the top and sides with two passes to prevent drywall damage, then carefully remove trim pieces. Finally, enlist a helper to support the weight while you pry gently and lift straight upward onto a padded surface. The specifics of your particular mounting system will determine exactly how much effort you’ll need.
Step 1: Identify Your Mantel Type and Find All Fasteners

Step 1: Identify Your Mantel Type and Find All Fasteners
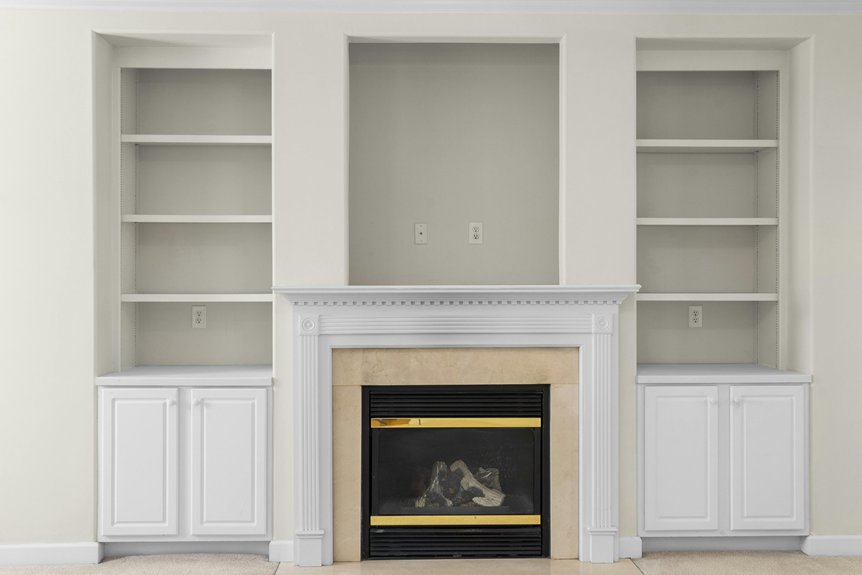
Before you grab a pry bar and start pulling, you’ll want to understand what you’re actually working with—and that means identifying your mantel type first. Mantels come in two main styles: shelf or knockdown. This matters because your removal steps depend entirely on how it’s mounted.
Mantels come in two main styles: shelf or knockdown. Your removal steps depend entirely on how it’s mounted.
Start by inspecting underneath the shelf carefully. Look for screws, bolts, or brackets securing everything to studs or a wall cleat. Check inside hollow sections and behind corbels too—that’s where hidden fasteners often hide. Examine the ends and underside for nails, brads, or concealed channels.
Don’t assume caulking means there’s no hardware underneath. Run your hand along joints and use a flashlight. Once you’ve located all fasteners and confirmed whether you’re dealing with direct stud attachment or a wall cleat system, you’re ready to proceed.
Step 2: Prep the Mantel-Score Seams and Remove Trim

Now that you’ve found all the fasteners, it’s time to score the seams before you start prying—and I can’t stress this enough, because skipping this step often leads to torn drywall that’ll cost you more time and money to repair.
I score along the top shelf seam where the mantel meets the wall, then work my way down the sides. I use a scoring technique with two passes: a light one first, then deeper, especially where thick paint buildup exists. Around corbels and decorative legs, I score carefully to expose hidden joints without damaging them.
After scoring, I remove trim pieces using a putty knife for separation and a small pry bar for leverage. This scoring technique prevents drywall damage and keeps trim separation clean throughout your mantel removal.
Step 3: Support and Lift the Mantel Without Damage

With all the fasteners removed and seams scored, you’re ready for the most critical step—lifting the mantel safely. I’ve learned that having a helper makes this process smooth and prevents costly mistakes. Start by using a pry bar to create small gaps along the edges with shims, then lift straight upward rather than outward to avoid binding and wall damage.
| Lift Technique | Key Benefit |
|---|---|
| Cradle with one arm underneath | Distributes mantel weight evenly |
| Guide with your other hand | Controls guided removal smoothly |
| Lift straight up, not outward | Prevents tilting and joint stress |
Lower your mantel gently onto a padded surface. This approach protects it from dents. Once detaching fasteners is complete and your mantel’s secured, bag all hardware for reuse or disposal.