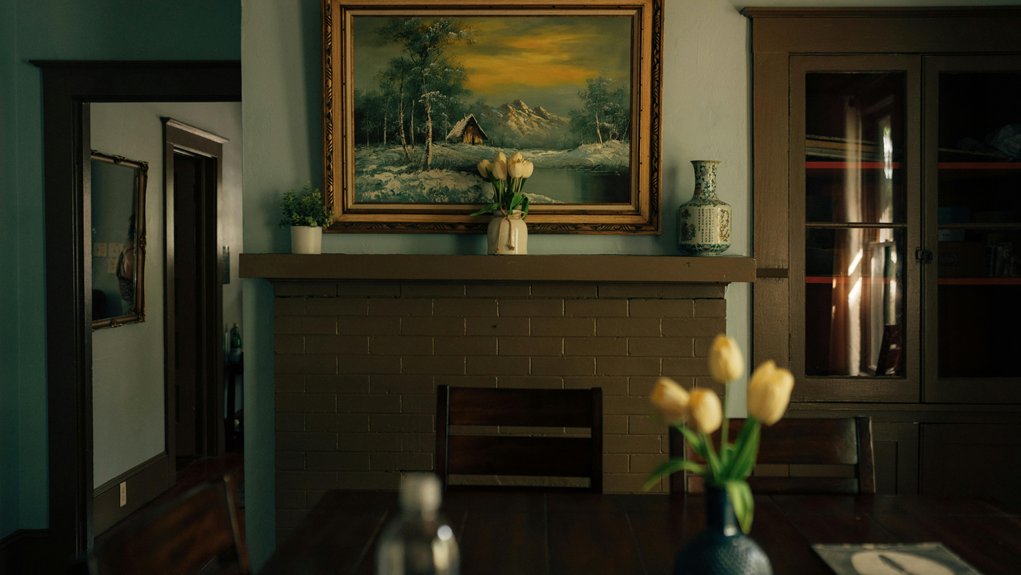
I refreshed my brick fireplace by gathering supplies like a wire brush, masonry primer, and 1¼-inch roller. First, I scrubbed away debris and cleaned with a citrus-based cleaner. Then I applied Fresh Start bonding primer with a 1-inch brush on mortar lines and a ½-inch roller on brick faces. Next, I painted two coats of quality paint, brushing edges and rolling the main surfaces. The whole project took one weekend and produced noticeable results. There’s more technique to master for better results.
What You’ll Need to Paint Brick

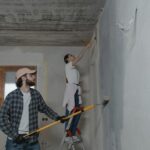
Before you pick up a brush, gathering the right supplies makes the whole project smoother and gives you better results. I’ve learned that prep work separates successful projects from frustrating ones.
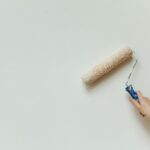
You’ll need a stiff wire brush to remove debris, plus tape and drop cloths for protection. A shop vacuum helps with cleanup. For painting, grab a 1 1/4-inch nap roller, several brushes, and masonry primer—it’s important for brick adhesion. I use a bonding acrylic latex primer like Fresh Start or Insl-X Aqua Lock with a smaller 1/2-inch nap roller for detail work.
For your topcoat, select latex paint in satin finish or higher sheen for easy cleaning. Sherwin Williams Super Paint Satin in Oyster White works well. These supplies help you achieve professional-looking coverage and lasting results.
Step 1: Prepare and Clean the Surface

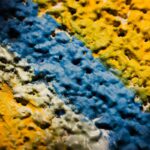
Now that you’ve got your supplies gathered, it’s time to get that fireplace ready for primer and paint. I start by using a stiff brush to tackle the brick surface, paying special attention to the mortar lines where debris loves to hide. Once I’ve loosened everything, I vacuum thoroughly with my shop vacuum to eliminate all that dust.
Next, I inspect the mortar carefully for any cracks needing repair. Then comes the deep clean. I apply a citrus-based cleaner to remove soot and stubborn residue, then wash the brick completely with water. If grime persists, I use TSP or a degreaser on those tough spots. Finally, I rinse everything with a clean sponge and water until it’s spotless. Proper surface preparation allows your paint to adhere well and last longer.
Step 2: Prime the Brick With Bonding Primer

Why is primer so important before painting brick? Primer creates a strong bond between your brick and paint while protecting against alkali resistance issues that can damage your finish.
Primer creates a strong bond between brick and paint while protecting against alkali resistance issues that damage your finish.
I use a quality bonding primer like Fresh Start designed specifically for masonry. I apply it first to all mortar lines using a 1-inch brush, working carefully into the crevices. Then I roll the remaining brick face with a 1/2-inch nap roller for even coverage.
Before you start, tape off edges and trim to keep everything clean. Let the primer dry completely overnight—this step significantly impacts your results. I always inspect my work afterward, checking for missed spots or thin areas. A thorough primer application makes your final paint job look professional and last longer.
Step 3: Paint the Brick in Even Coats

With your primer fully dry, you’re ready to apply the actual paint—and this is where your preparation really pays off. I always start by brushing the mortar lines carefully, then use my roller for the brick faces to get smooth, even coverage.
Here’s my proven approach:
- Apply thin coats with consistent pressure to avoid drips and lap marks
- Use an extension pole on the roller for tall areas and hard-to-reach spots
- Maintain uniform application across all surfaces
- Let the first coat dry completely before checking coverage
Once that first coat dries, I evaluate whether I need a second coat. Most fireplaces benefit from two coats for rich, cohesive color. I finish by touching up any missed spots with a brush, so everything looks polished and complete.
Step 4: Paint a Second Coat and Detail the Edges

Once your first coat dries completely, it’s time to apply that second coat. Using the same roller technique creates consistency across all the brick surfaces and mortar lines. This second coat fills in any thin spots and provides full coverage.
Next, grab your three detail brushes to paint the edges carefully. These brushes let you maintain crisp, clean lines without masking tape mistakes. Touch up any missed areas before the paint dries.
The key to avoiding lap marks is maintaining overlapping strokes with steady pressure. Once you’re satisfied with coverage, let everything dry fully according to the manufacturer’s drying times. Your fireplace will look professionally finished and ready for use.