I’ve cleaned hundreds of gas fireplace glass panels, and here’s what works: let your fireplace cool completely, then turn off the pilot light for safety. Remove the glass carefully and vacuum debris from the firebox bottom. Spray ceramic glass cleaner across the surface and wait for a white haze to form—that’s the buildup loosening. Buff with a dry microfiber cloth using gentle circular motions until it shines, then reassemble. These specific techniques deliver professional-quality results.
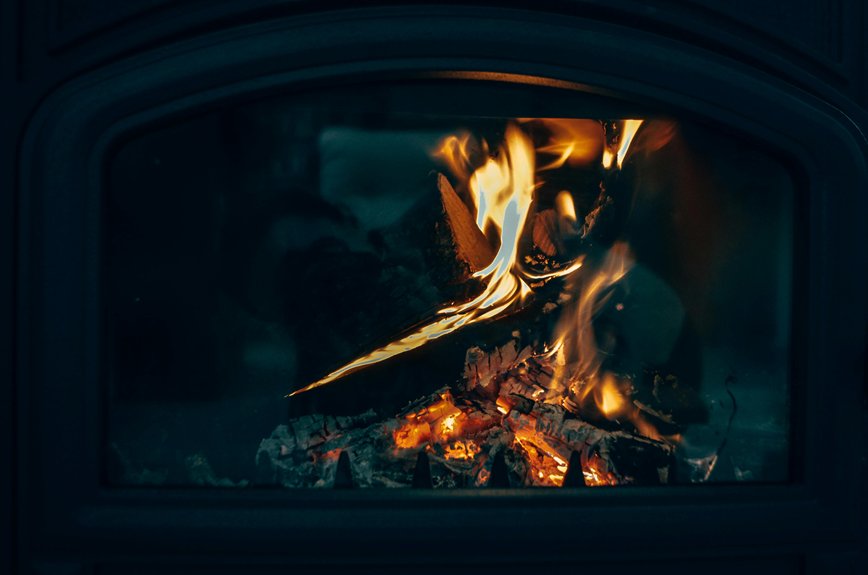
Why Gas Fireplace Glass Gets Cloudy

Why does your gas fireplace glass look so hazy and dull? Cloudiness happens when minerals and moisture from combustion condense on the cool glass surface. Your venting system pulls in outdoor air containing mineral deposits that settle on the glass over time. New fireplaces sometimes create temporary haziness from off-gassing particulates during their first uses—this improves naturally. Humidity accelerates buildup significantly, especially during wet seasons or in damp climates. If you skip maintenance, these mineral deposits etch the glass permanently, creating a stubborn haze that’s harder to remove later. Regular cleaning prevents this damage before it becomes permanent. Check your fireplace glass monthly to catch cloudiness early. This simple habit keeps your fireplace looking clear for years.
Cool Down and Turn Off the Pilot Light

Before you touch anything on your fireplace, you’ll want to let it cool down completely and turn off the pilot light—this is the safety foundation for the entire cleaning process. I learned this the hard way when I rushed into cleaning too soon and nearly burned my hand on hot glass.
Here’s what you need to do:
- Wait several hours after your last use so all components become completely cool
- Turn off the pilot light and shut off gas controls following your manufacturer’s instructions
- Check that the glass front and surrounding areas feel safe to touch
Taking time for proper safety precautions means you can clean your fireplace glass without worry. This cooling period gives you peace of mind and protects you during gas fireplace cleaning.
Remove Glass and Vacuum the Firebox Bottom
Now that your fireplace’s cooled down completely and you’ve turned off the pilot light, it’s time to tackle the glass removal and clear out that firebox bottom. Carefully open or remove the glass assembly by releasing the spring clamps or hinges, then set it gently on a soft padded surface to prevent scratches.
Before you touch that glass, grab your handheld vacuum and clean the firebox bottom thoroughly. This debris prevention step is important because it stops dust and particles from falling onto your freshly cleaned glass during reassembly. Remove all dust, debris, and any dead insects you find down there.
Once you’ve vacuumed completely, you’re ready to apply cleaner to your glass. Just avoid the pilot light and gas lines while you work.
Apply Ceramic Glass Cleaner and Let It Haze

Choosing the right cleaner matters when you’re tackling fireplace glass, and I’ve learned this through experience. I used to grab whatever was under my sink, but that damaged my glass permanently. Now I only use a ceramic glass cleaner specifically labeled for gas fireplaces.
Here’s my process:
- Spray the ceramic glass cleaner evenly across the entire glass surface
- Wait until a white glass haze forms, which signals the buildup is loosening
- Buff away the residue with a dry microfiber cloth until the glass shines
The hazing process is important—it tells you the cleaner’s working. I always keep the spray away from pilot lights and gas lines for safety. Avoid ammonia cleaners; they scratch and etch your fireplace glass. This method removes buildup without damage every single time.
Buff to a Streak-Free Shine and Reassemble

Once you’ve let that white haze settle on your glass, it’s time to buff it away. I grab a dry microfiber cloth and use gentle, circular motions to remove that haze completely. For stubborn spots, I apply a second pass with the same cloth until streaks vanish entirely.
If your glass sits on hinges, I keep it in place during this step. Once I’ve achieved a streak-free finish on both sides, I carefully reassemble the glass assembly. I make sure any springs or fasteners align properly to maintain a proper seal and prevent future leaks.
Finally, I perform one last wipe with a clean, dry microfiber cloth. This removes any remaining residue before returning the unit to service.