I’ll help you insulate your basement ceiling in three straightforward steps.
First, clear the space and inspect for moisture or mold—stop immediately if you find either.
Next, choose your insulation type, like rigid foam or spray foam, then measure each joist space carefully and install snugly between them without compressing.
Finally, seal all seams and edges with foil tape around pipes and wires to prevent air leaks.
Follow these steps, and you’ll reduce energy costs while improving comfort.
Additional details on each stage will help you complete the project effectively.
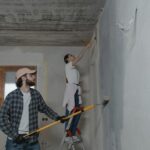
Step 1: Clear Your Space, Inspect for Moisture, and Stop if You Find Mold

Before you bring any insulation materials down to your basement, you’ll want to prepare the space properly—and that starts with clearing away what’s already there. I remove all debris, boxes, and loose material from the ceiling area to create a clean surface. Next, I inspect for moisture and dampness carefully. Standing water or wet spots mean you’ll need moisture remediation before moving forward. I also look for mold—musty odors or dark spots are warning signs. If I detect mold, I stop work immediately and call a professional for mold remediation. While inspecting, I check the structural integrity for sagging panels or loose plaster. I always wear safety gear including gloves, goggles, and a dust mask. I disable or protect electrical components for electrical safety. These steps create a solid foundation for successful basement ceiling insulation.
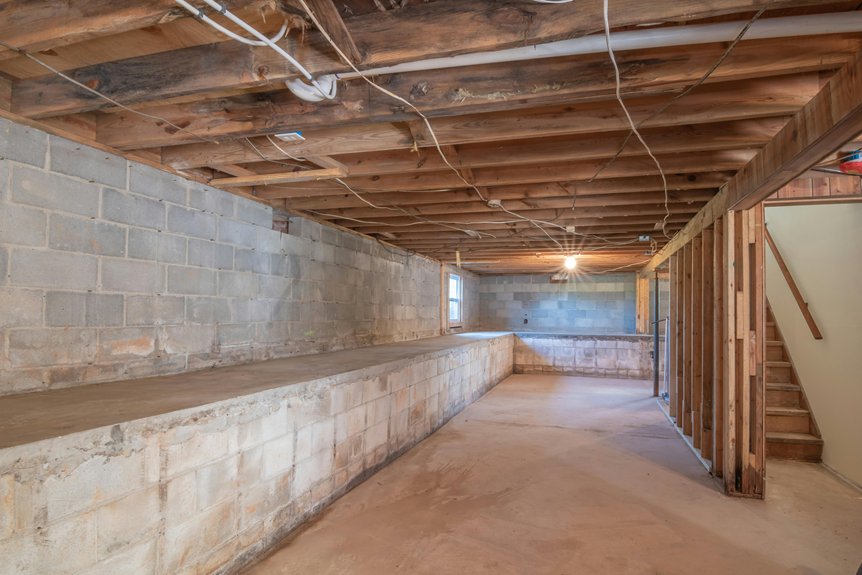
Step 2: Choose Your Insulation Type, Then Measure and Install Between Joists

With your basement ceiling prepped and ready, I’ll now walk you through selecting the right insulation and getting it installed properly. You have solid options: rigid foam boards like XPS deliver outstanding R-value per inch and moisture resistance, while reflective insulation works well for reducing heat transfer. Spray foam fills gaps completely, though it costs more.
Measure each joist space carefully—they’re rarely uniform. Cut your insulation type to fit snugly between joists without compression, which preserves R-value. If you’re using reflective insulation, orient those surfaces outward. Between joists is your prime real estate for basement ceiling insulation, so take time getting measurements right. This step determines how effectively your space stays comfortable year-round.
Step 3: Seal Seams and Edges Around Pipes, Wires, and Other Penetrations

Where your insulation meets pipes, wires, and other openings, that’s where air leaks sneak in and undo all your hard work. I’ve learned this the hard way, and now I make sure every penetration gets sealed properly.
Here’s what I do to create an airtight barrier:
- Notch reflective insulation carefully around pipes and wires so it fits snugly without compressing or leaving gaps
- Seal all seams and insulation edges with foil tape or high-temperature caulk, especially around pipe penetrations
- Leave small gaps between insulation and hot components to prevent heat transfer or electrical hazards
After I’m done installing, I perform a final inspection. I check every sealant application and re-seal any gaps I find. This extra step protects your basement and confirms your insulation actually works.